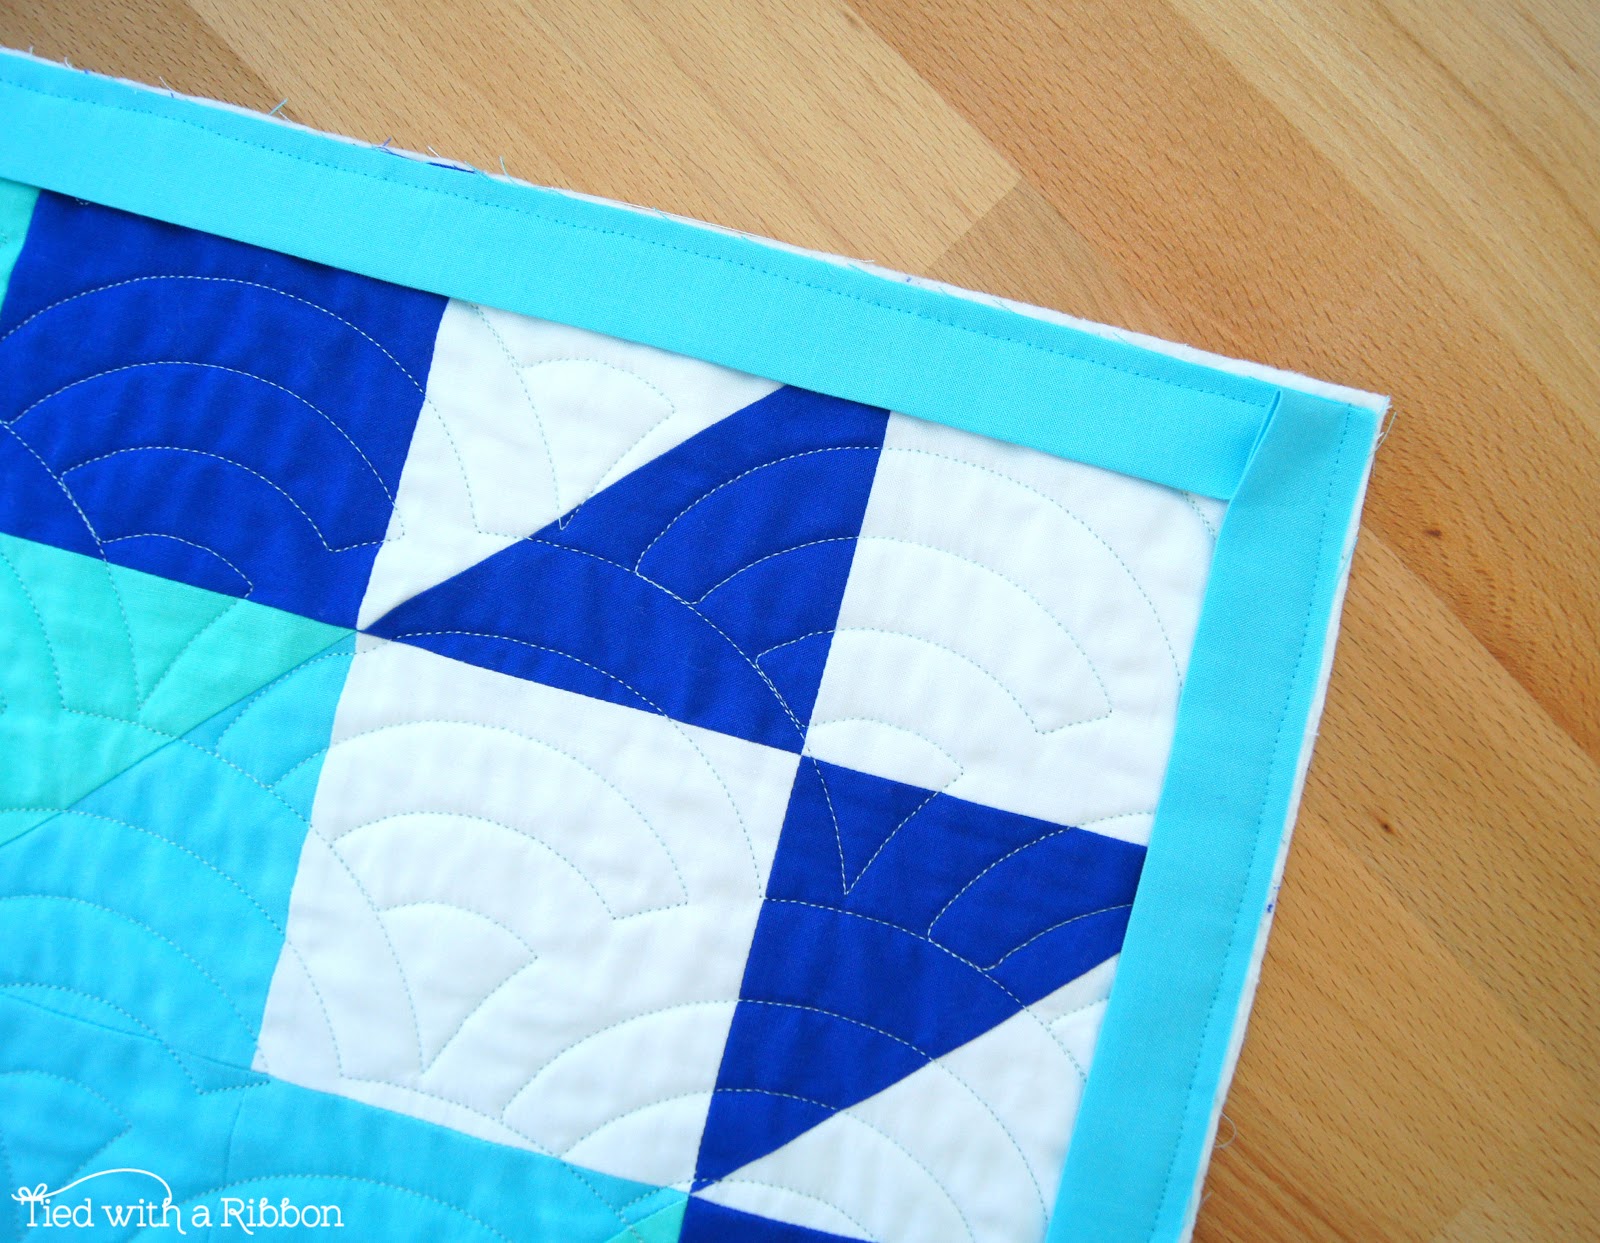
How to sew your Quilt Binding continuously around the corner
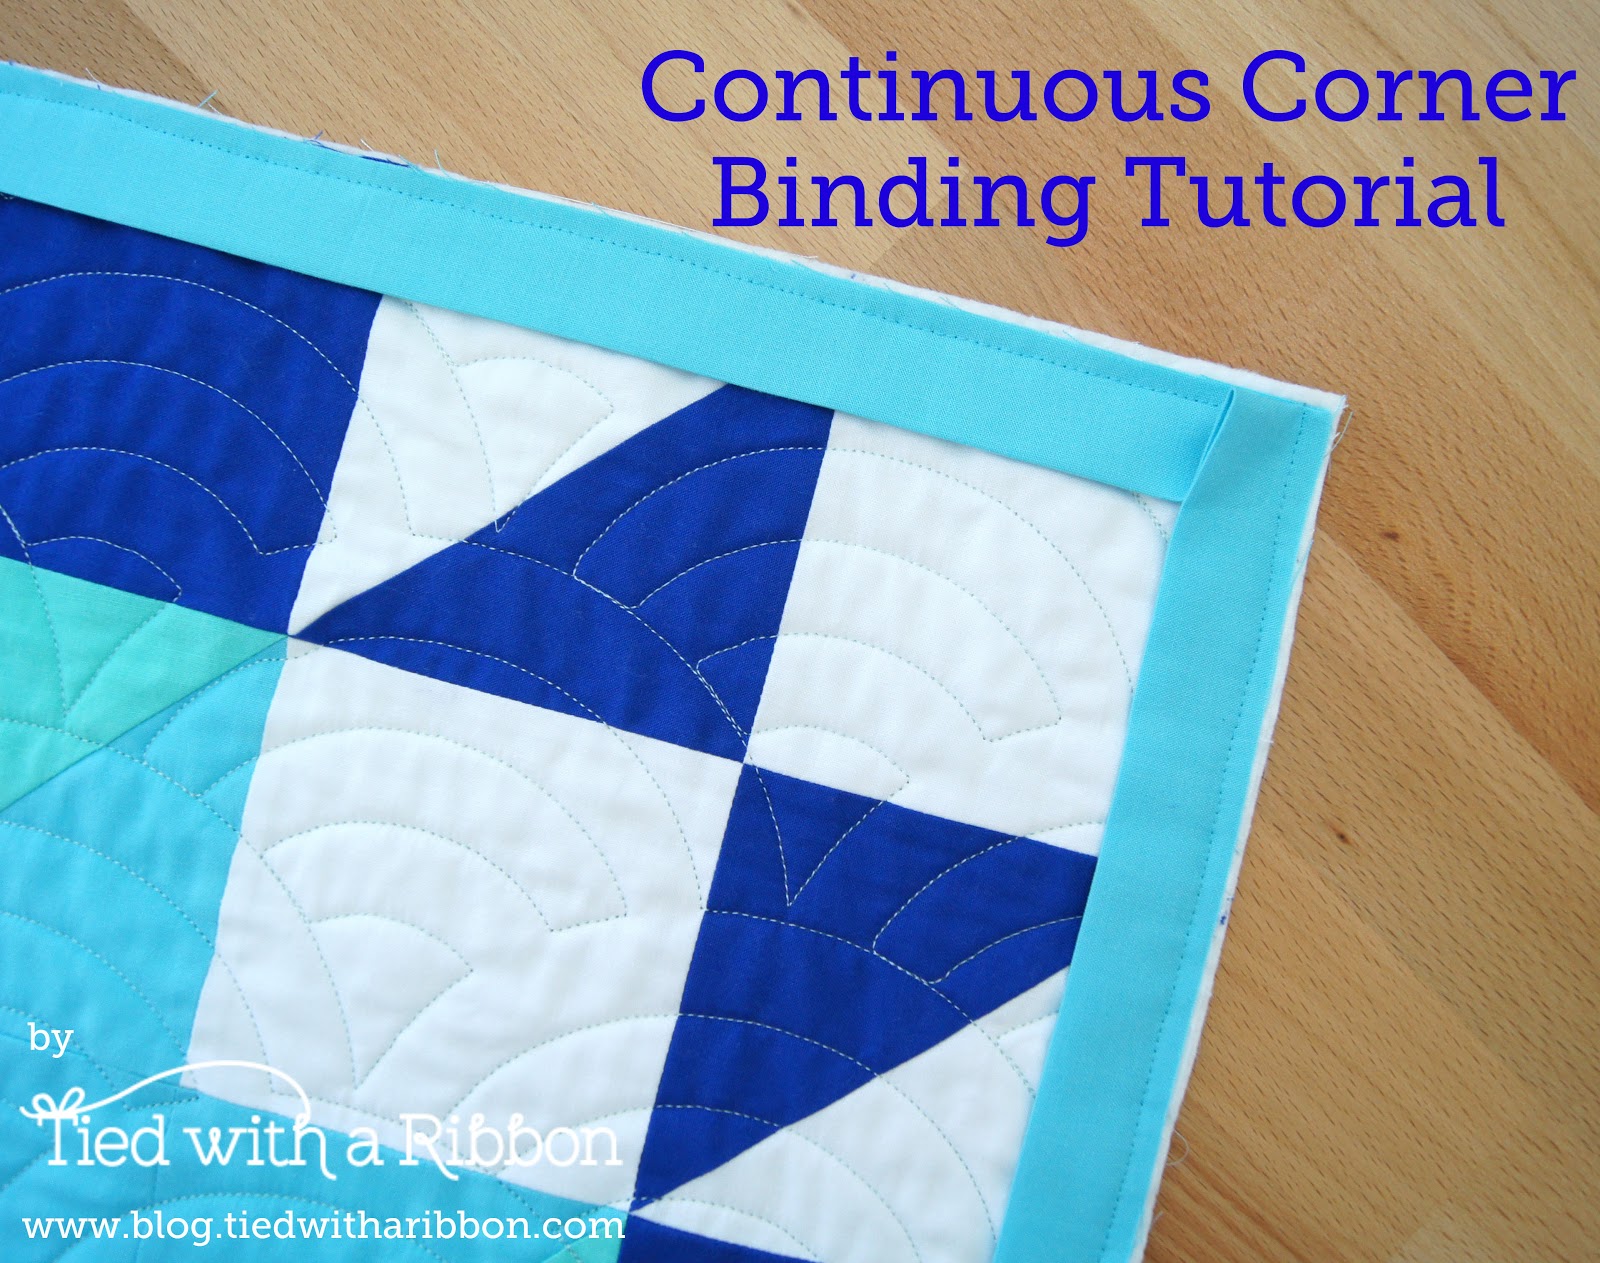
Its funny how the little things in quilting can be overlooked! I teach lots of students how to Quilt and sometimes it those "smaller" tips or the things you think people know how to do, that students find often the most helpful. When I teach and show students about "How to sew your Binding - continuously around the corner" this always raises eyebrows and usually big gasps of "why didn't I know this!" After sharing this tip the other day on my Instagram Stories - (@tiedwitharibbon) it turns out that a lot of people didn't know this little trick so I thought I would share it with you.
(This tip is only one part of the Binding process and not a full tutorial on how to bind your Quilt. You can find one I have done here)
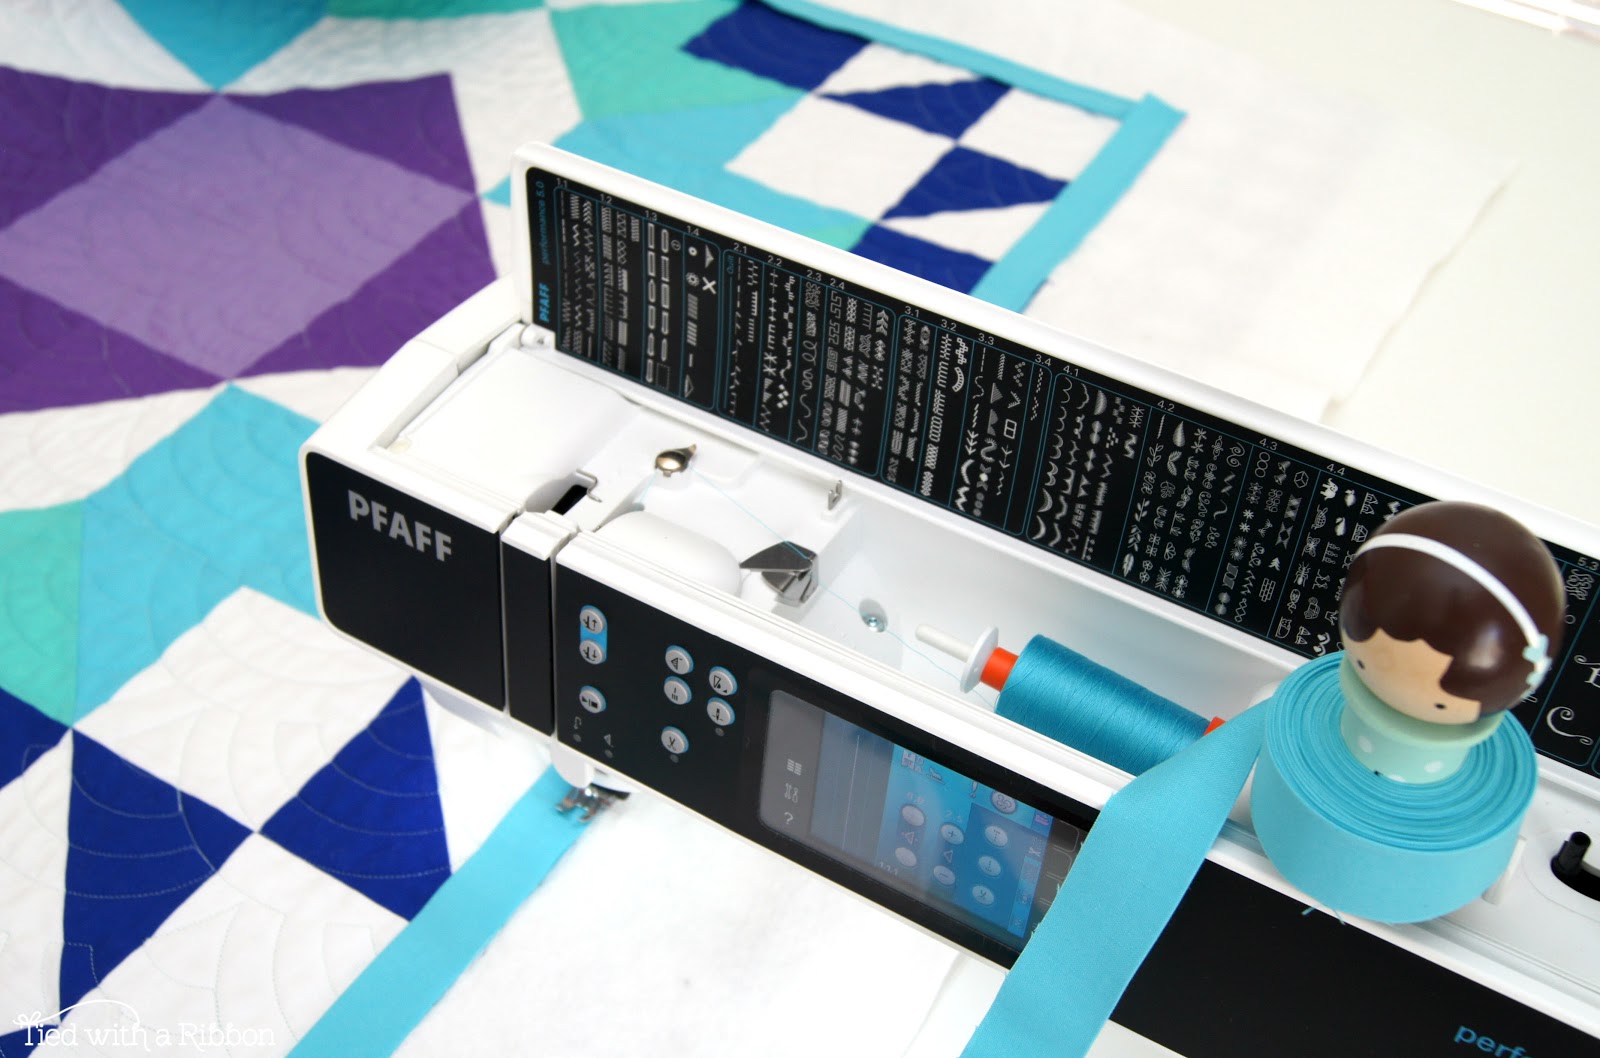
When I first learned how to quilt - I used to sew my binding to the front of my quilt and then as I got to the corner (where I was going to mitre it) I would stop 1/4 of an inch before the end, take the quilt out of the sewing machine, make the mitre with the binding, pin it in place, then place it back in my machine to continue to sew before reaching the next corner and then repeating. That was until I was shown this way about 6 years ago and I have never done it any other way since....
Note: I prefer to sew the Binding onto my Quilt with the batting and backing excess still as one piece - I don't trim this off before binding and I have even asked my Quilter not to trim the excess batting and backing of my quilts so I can Bind them this way.
I also like to colour match my thread! Use threads to blend with the Top Thread to match the Binding fabric colour and the Bobbin Thread to match the quilt Backing fabric colour.
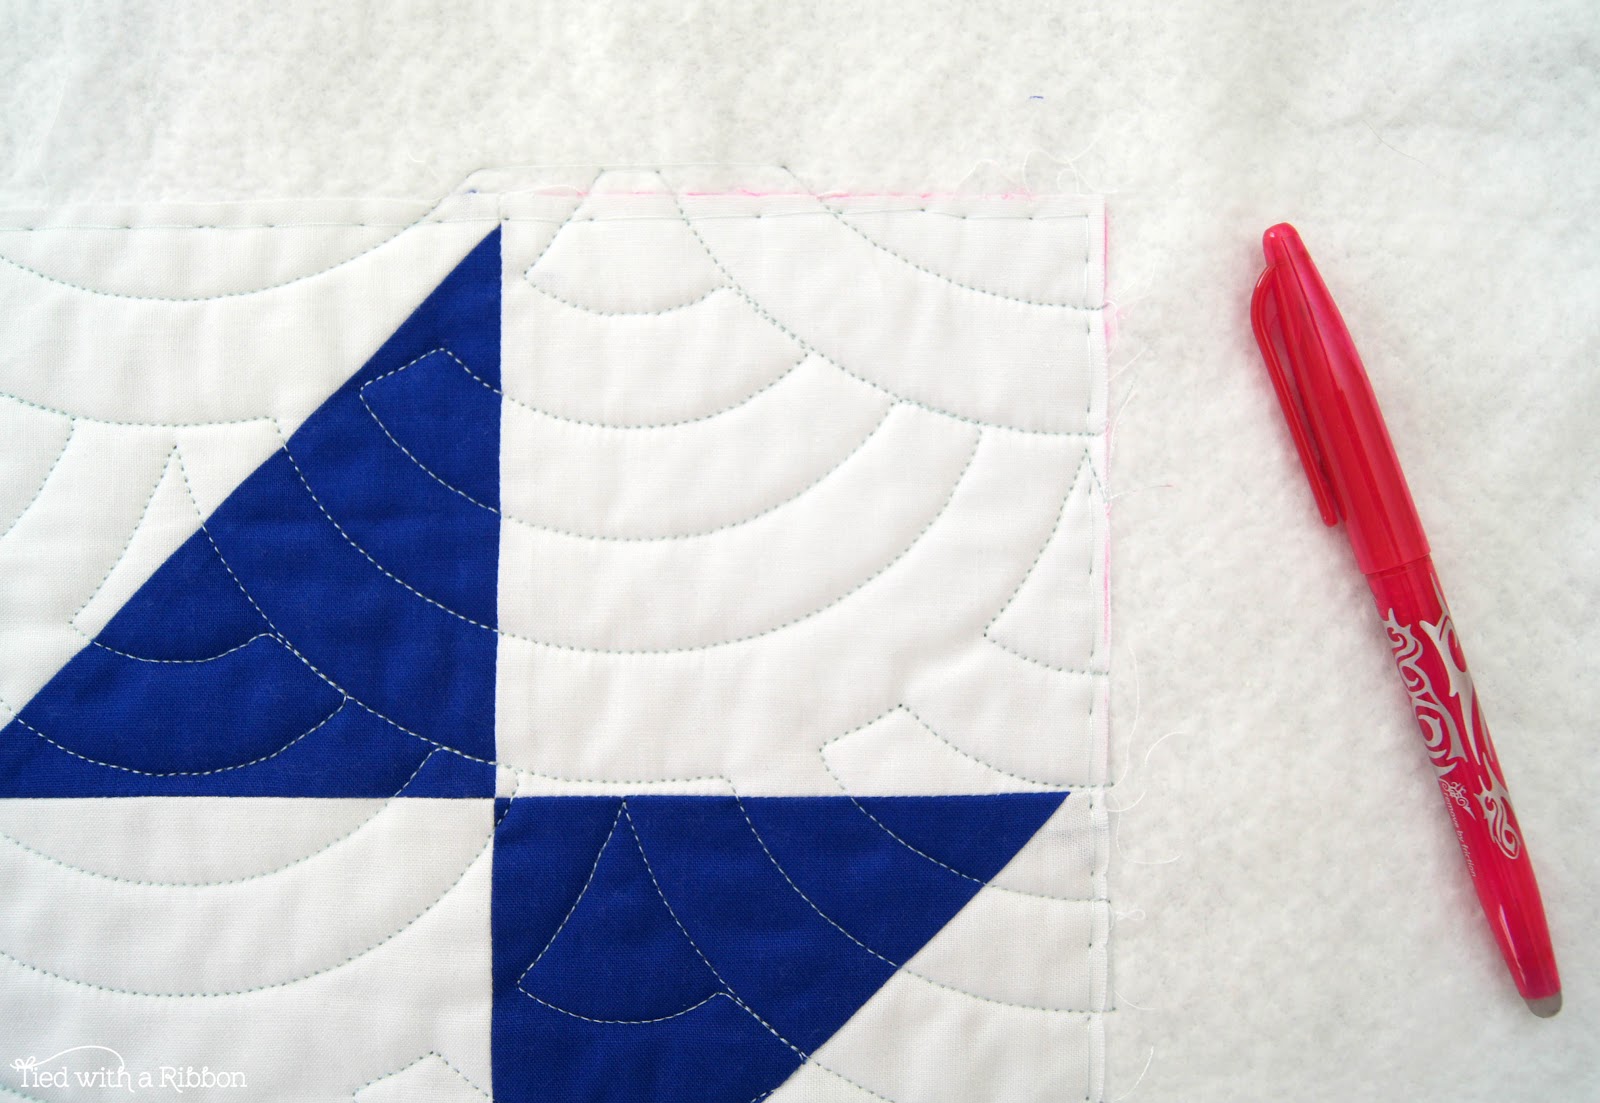
Step 1 - Use an Erasable Fabric marker to square up your quilt by marking a line around your quilt that makes the quilt Square, making sure to take into account your 1/4in seam allowance.
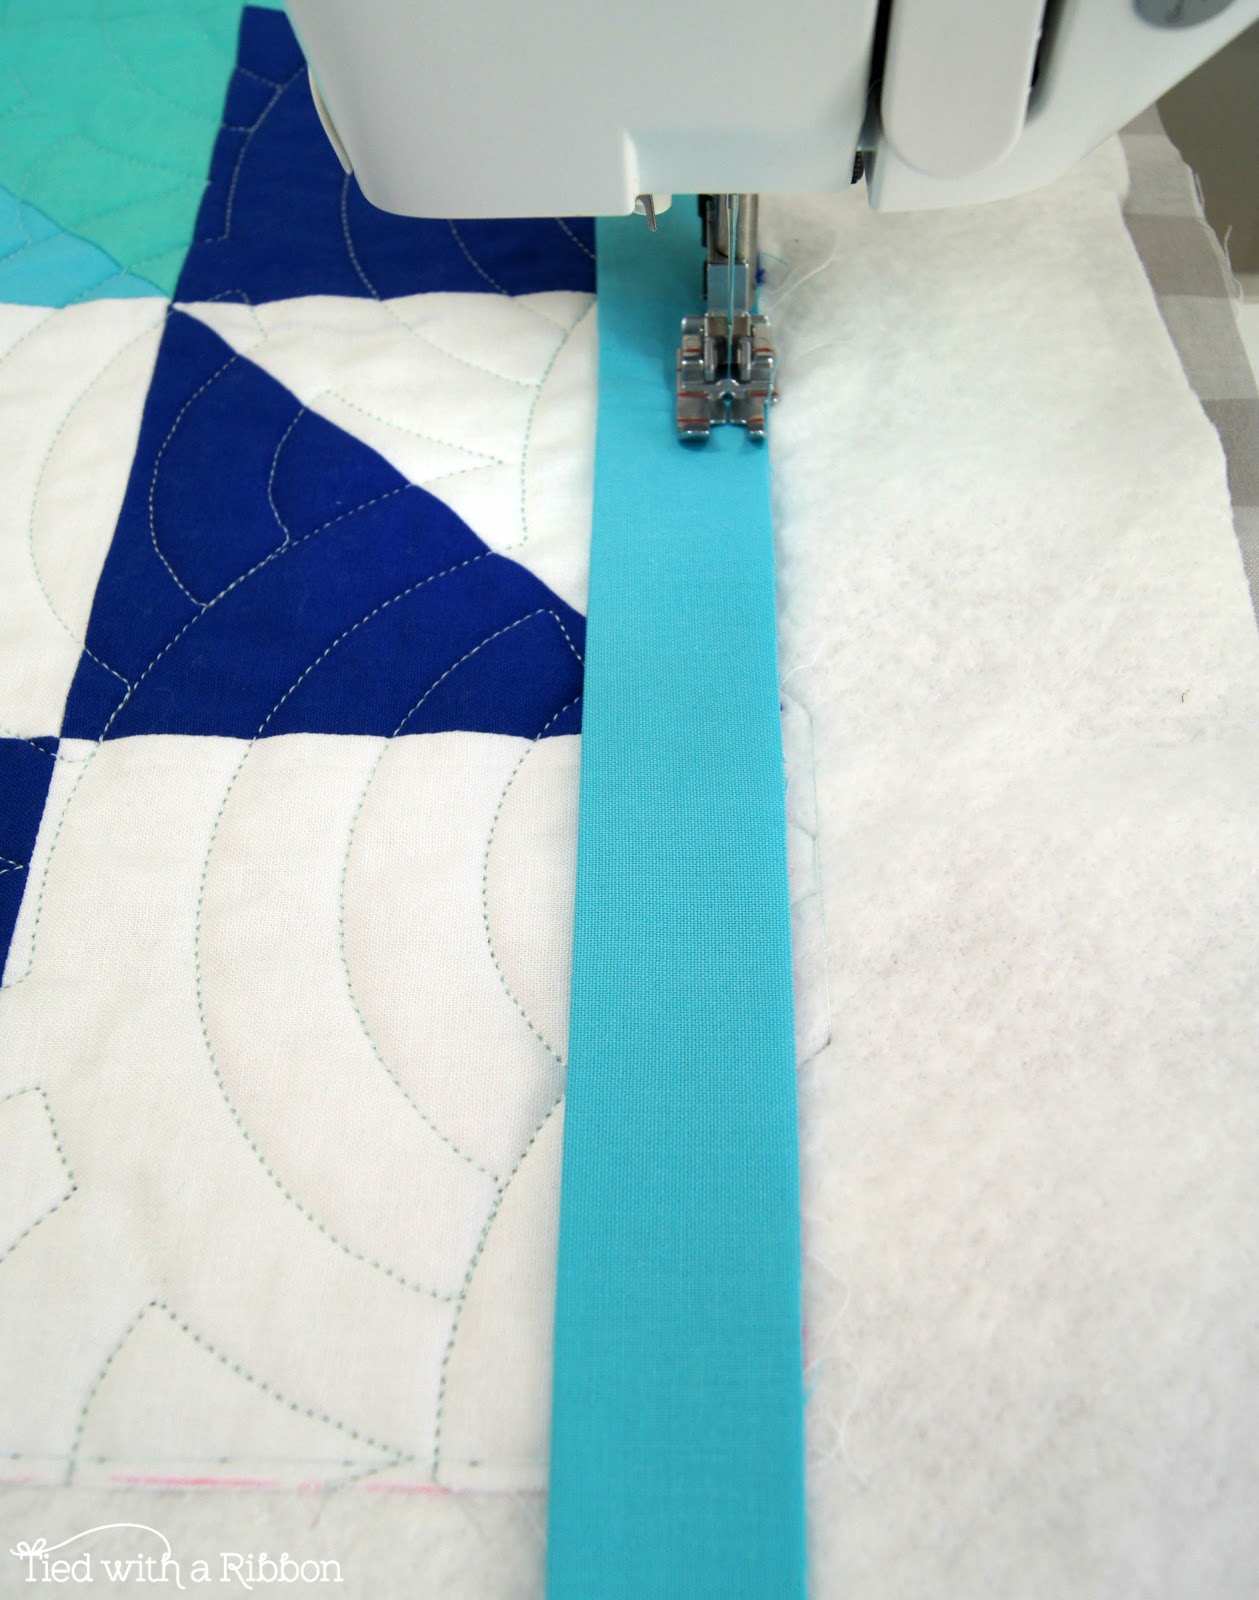
Step 2 - Starting along one side of your Quilt take your made Binding and sew the Binding strip to the right side of your quilt. To Mitre your Quilt corners in one continuous sequence stop 1/4in before you reach the corner of your quilt.
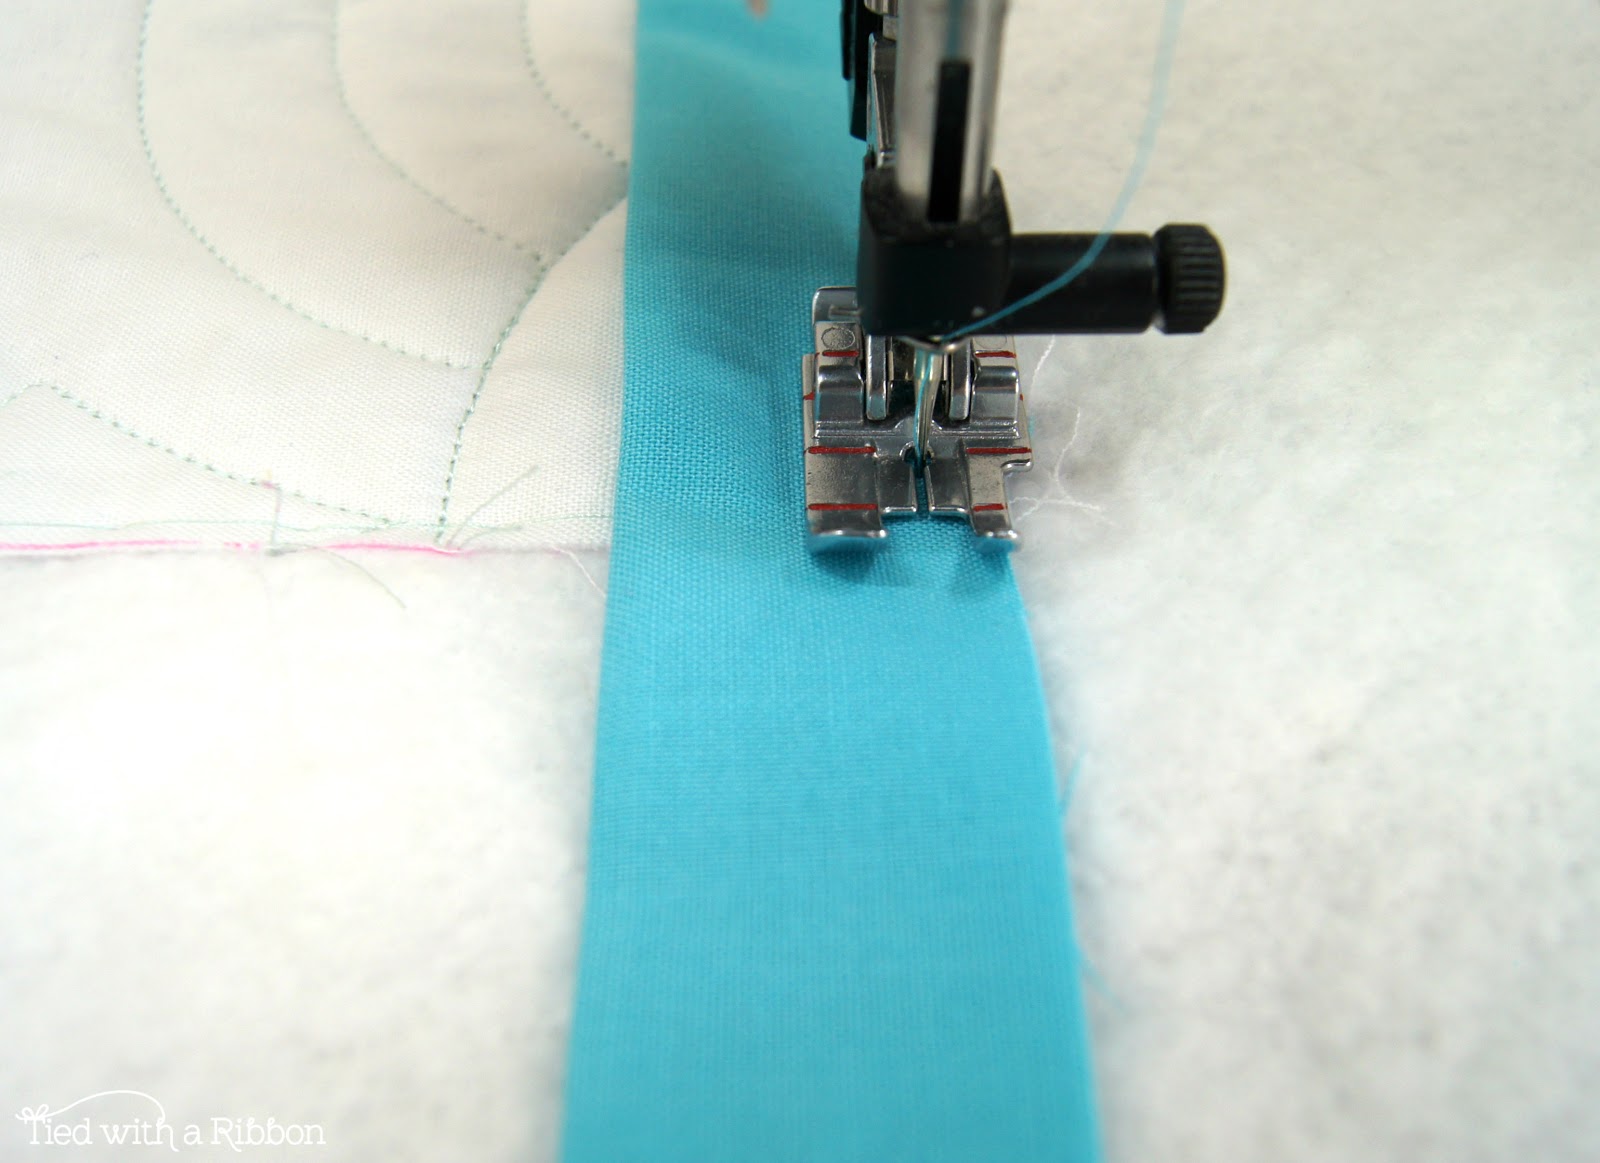
Step 3 - Put the "Needle Down" into the quilt, lift the Presser Foot and rotate the quilt around 90 degrees. Place the Presser Foot back down.
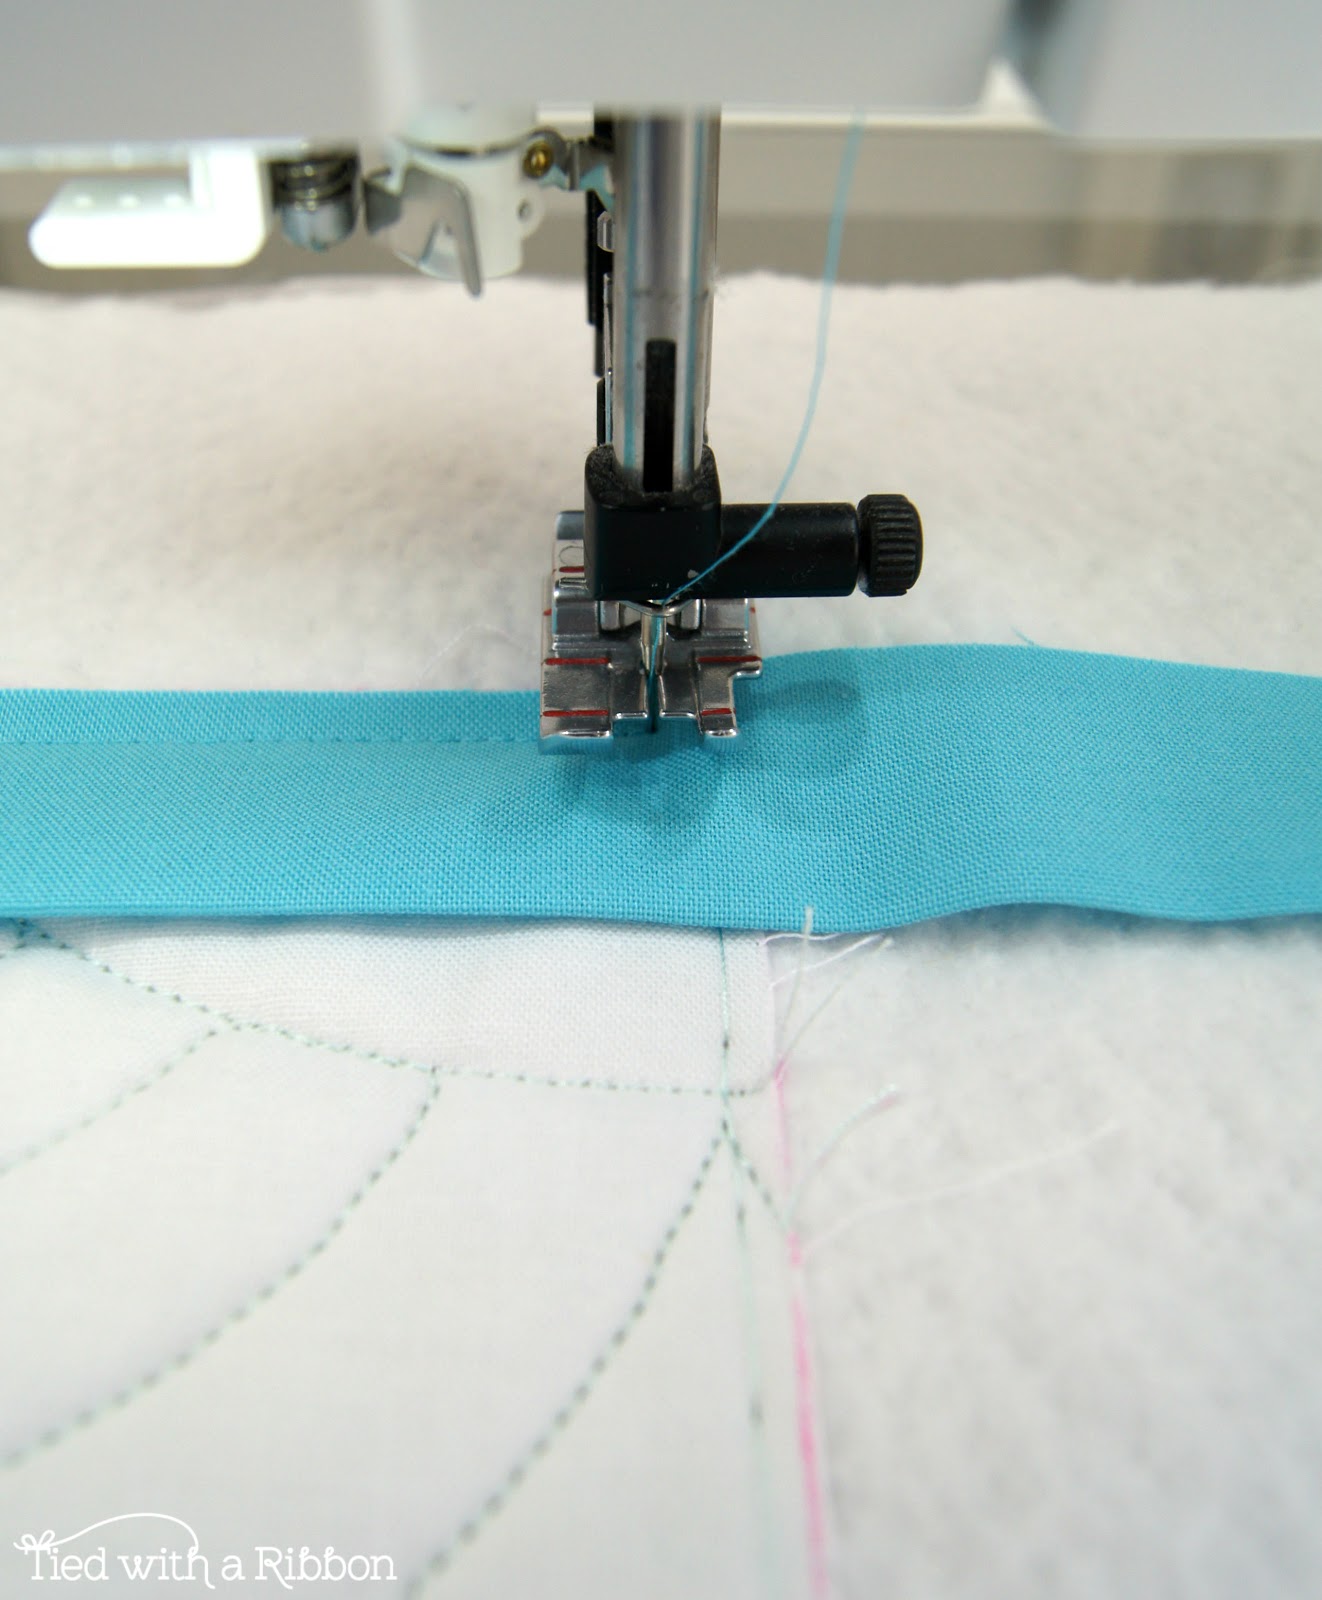
Step 4 - Reverse Stitch back to the edge of the quilt top (I find this is about 3 stitches on my machine). Place your "Needle Down" again.
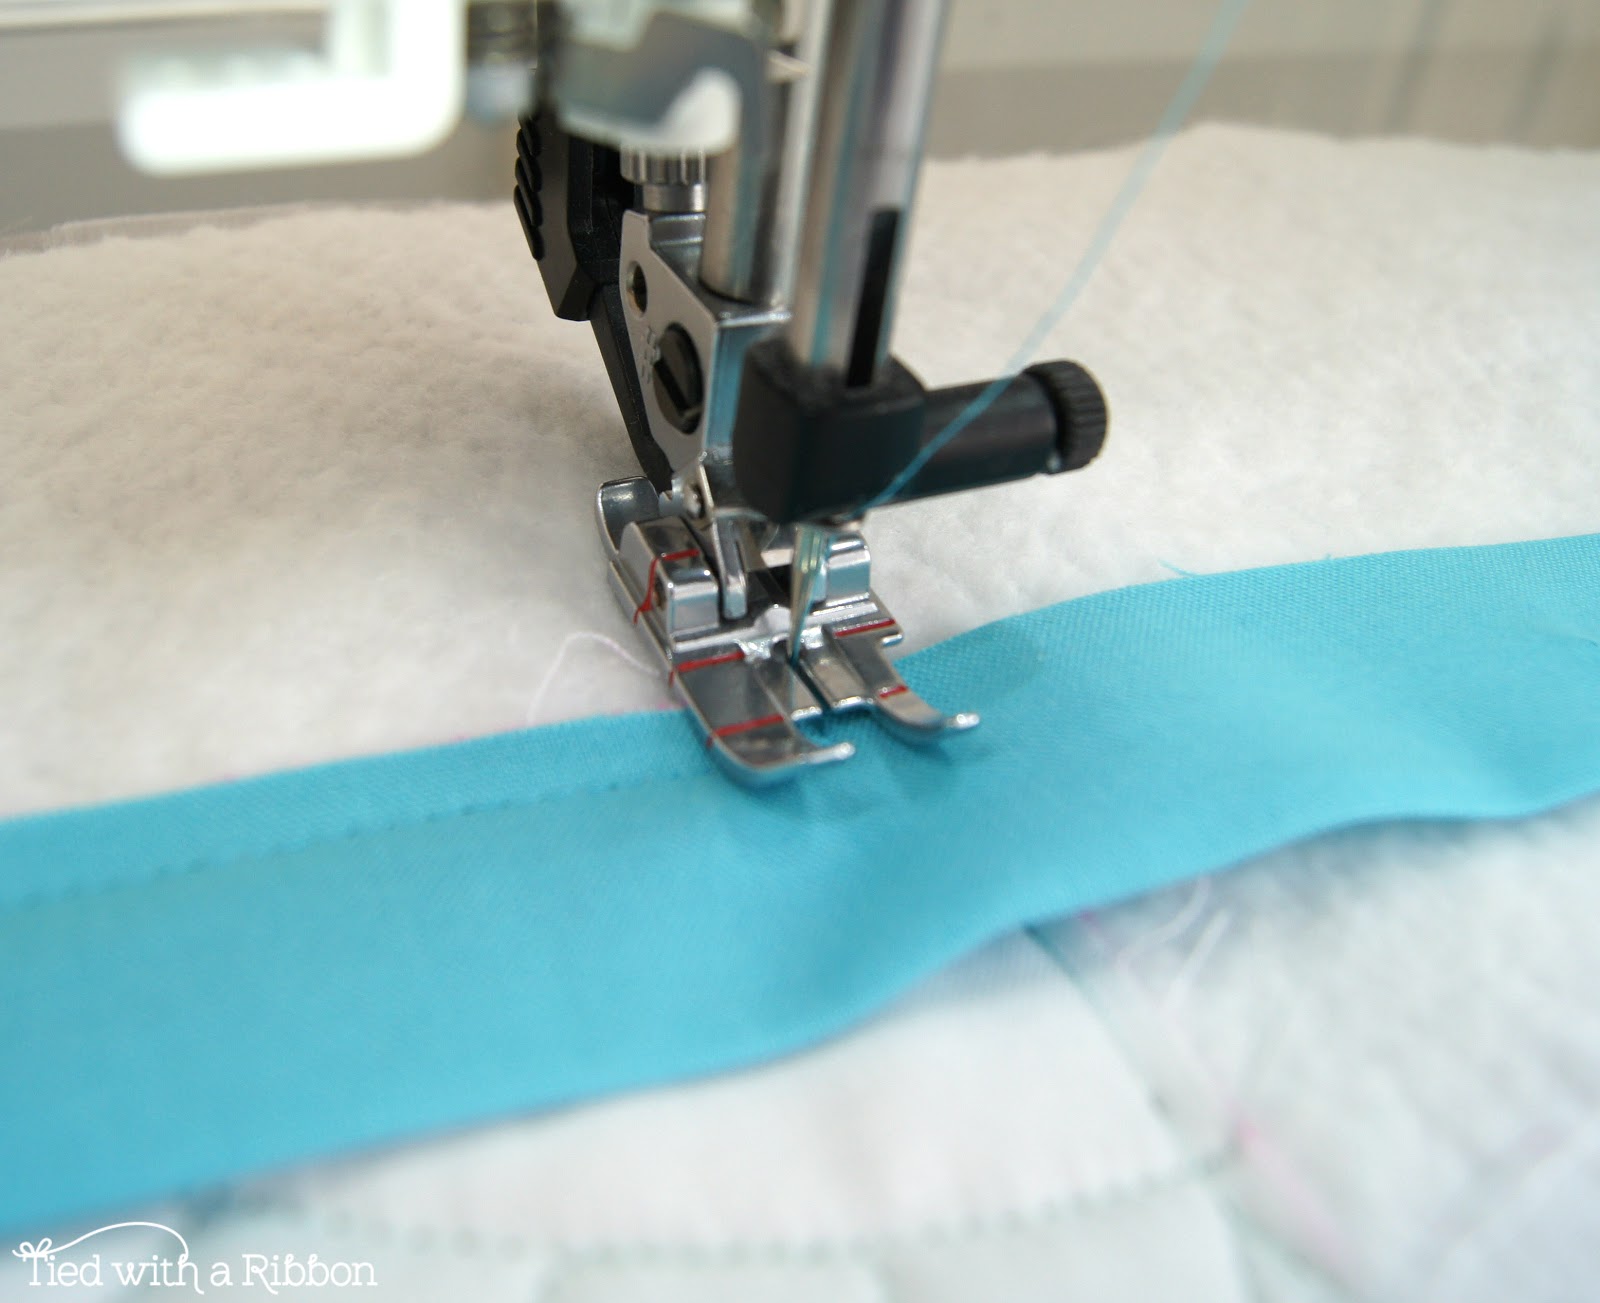
Step 5 - Lift your Presser Foot up and fold the binding at a 90 degree angle away from your Quilt top covering the angle you have created.
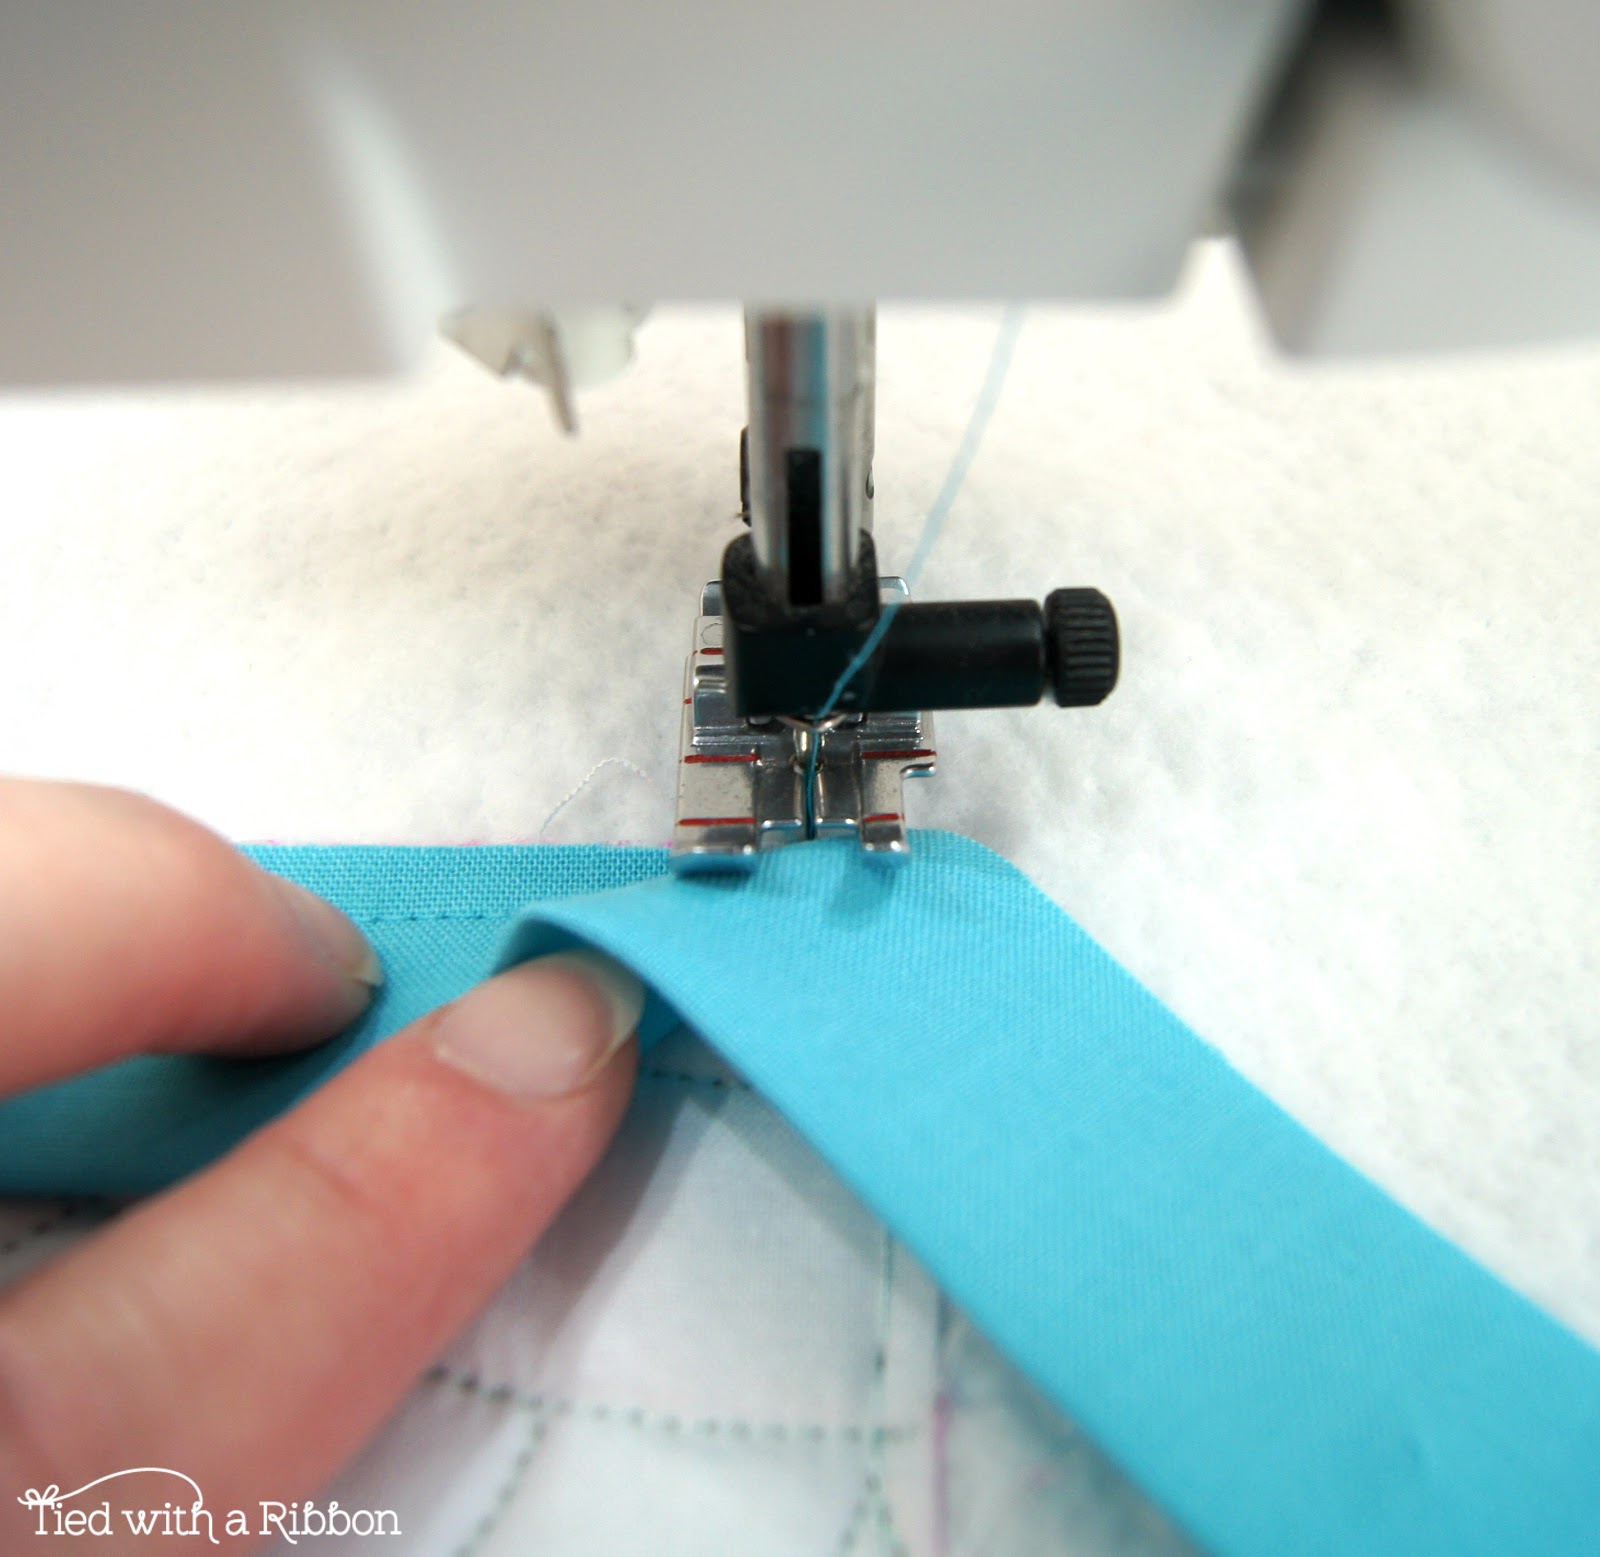
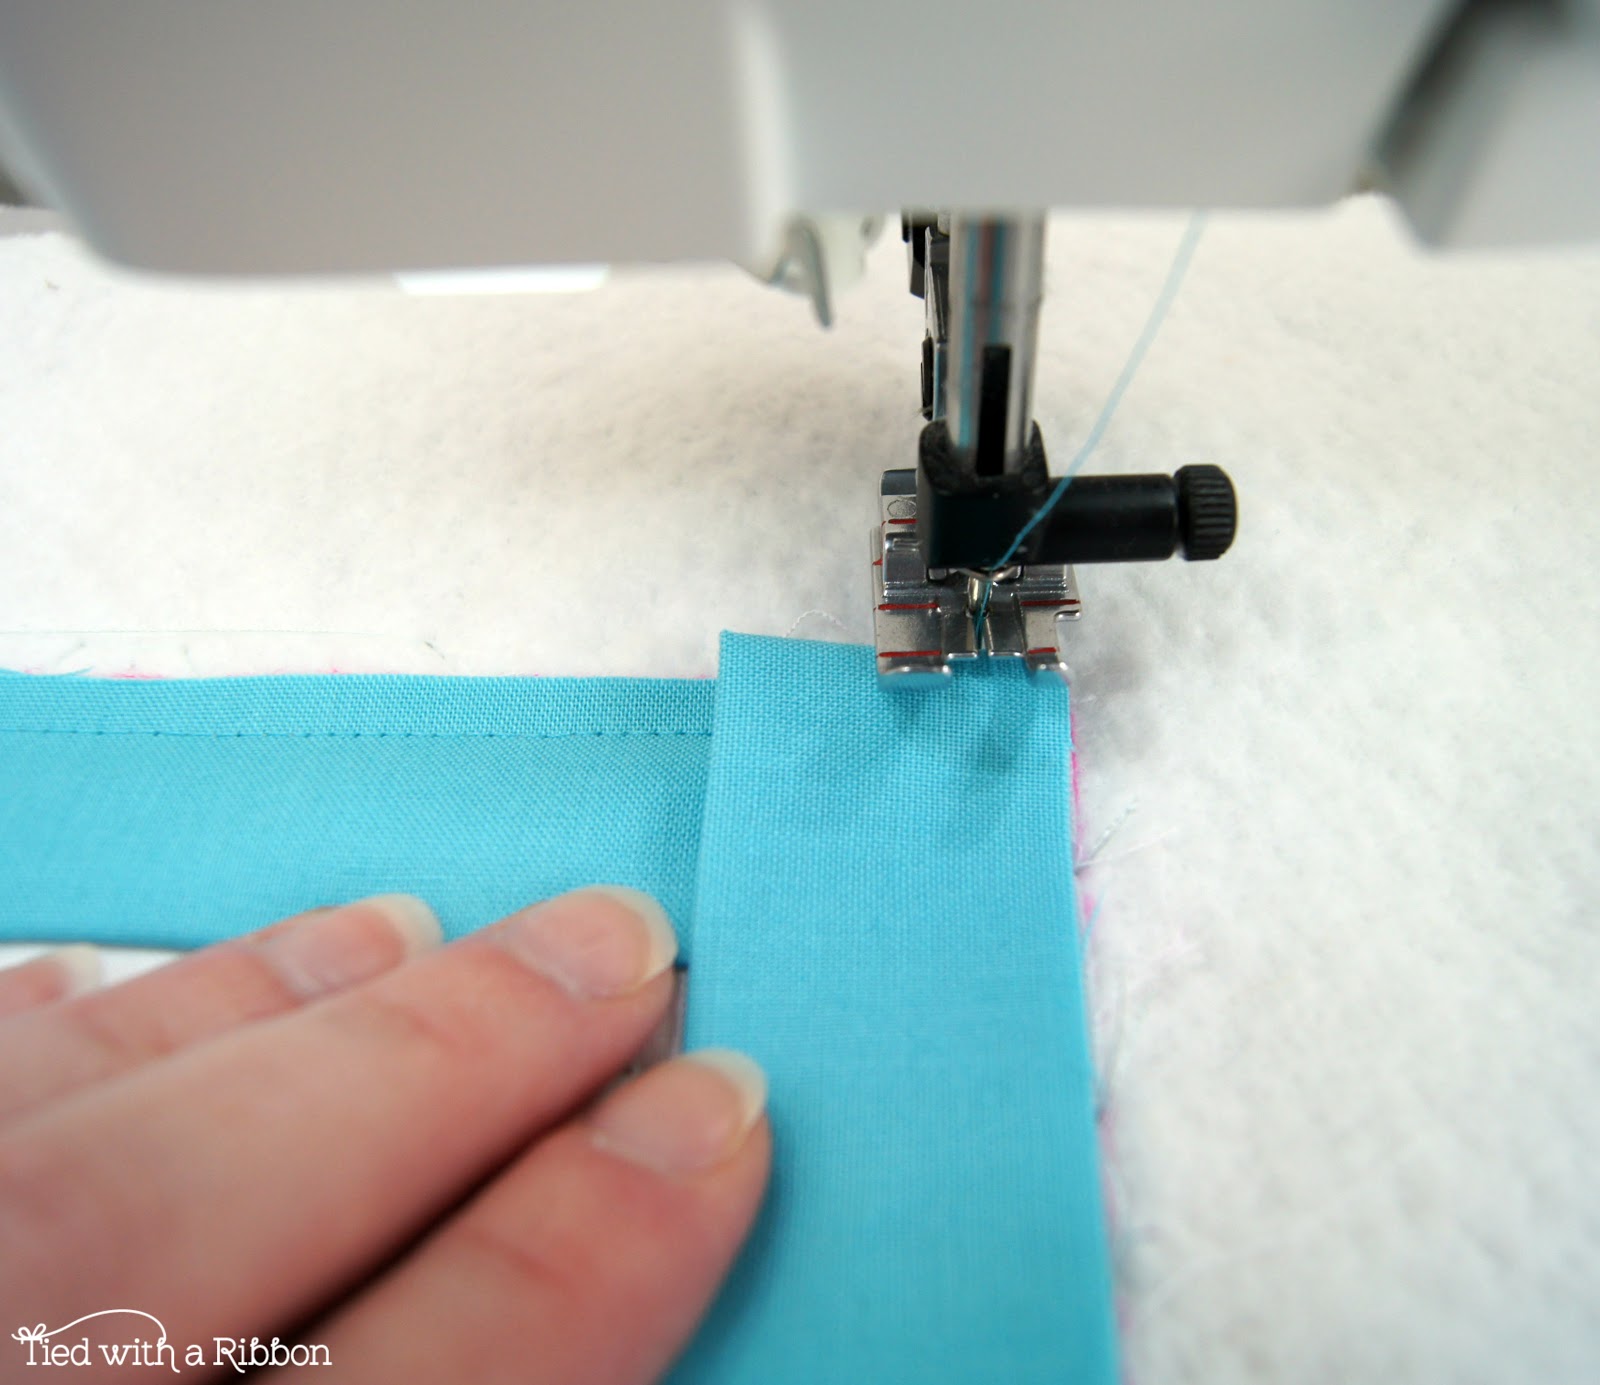
Step 6 - Line up the raw edges of your Binding along the raw edge of your Quilt top. Place the Presser Foot back down and sew along the next side of your Quilt.
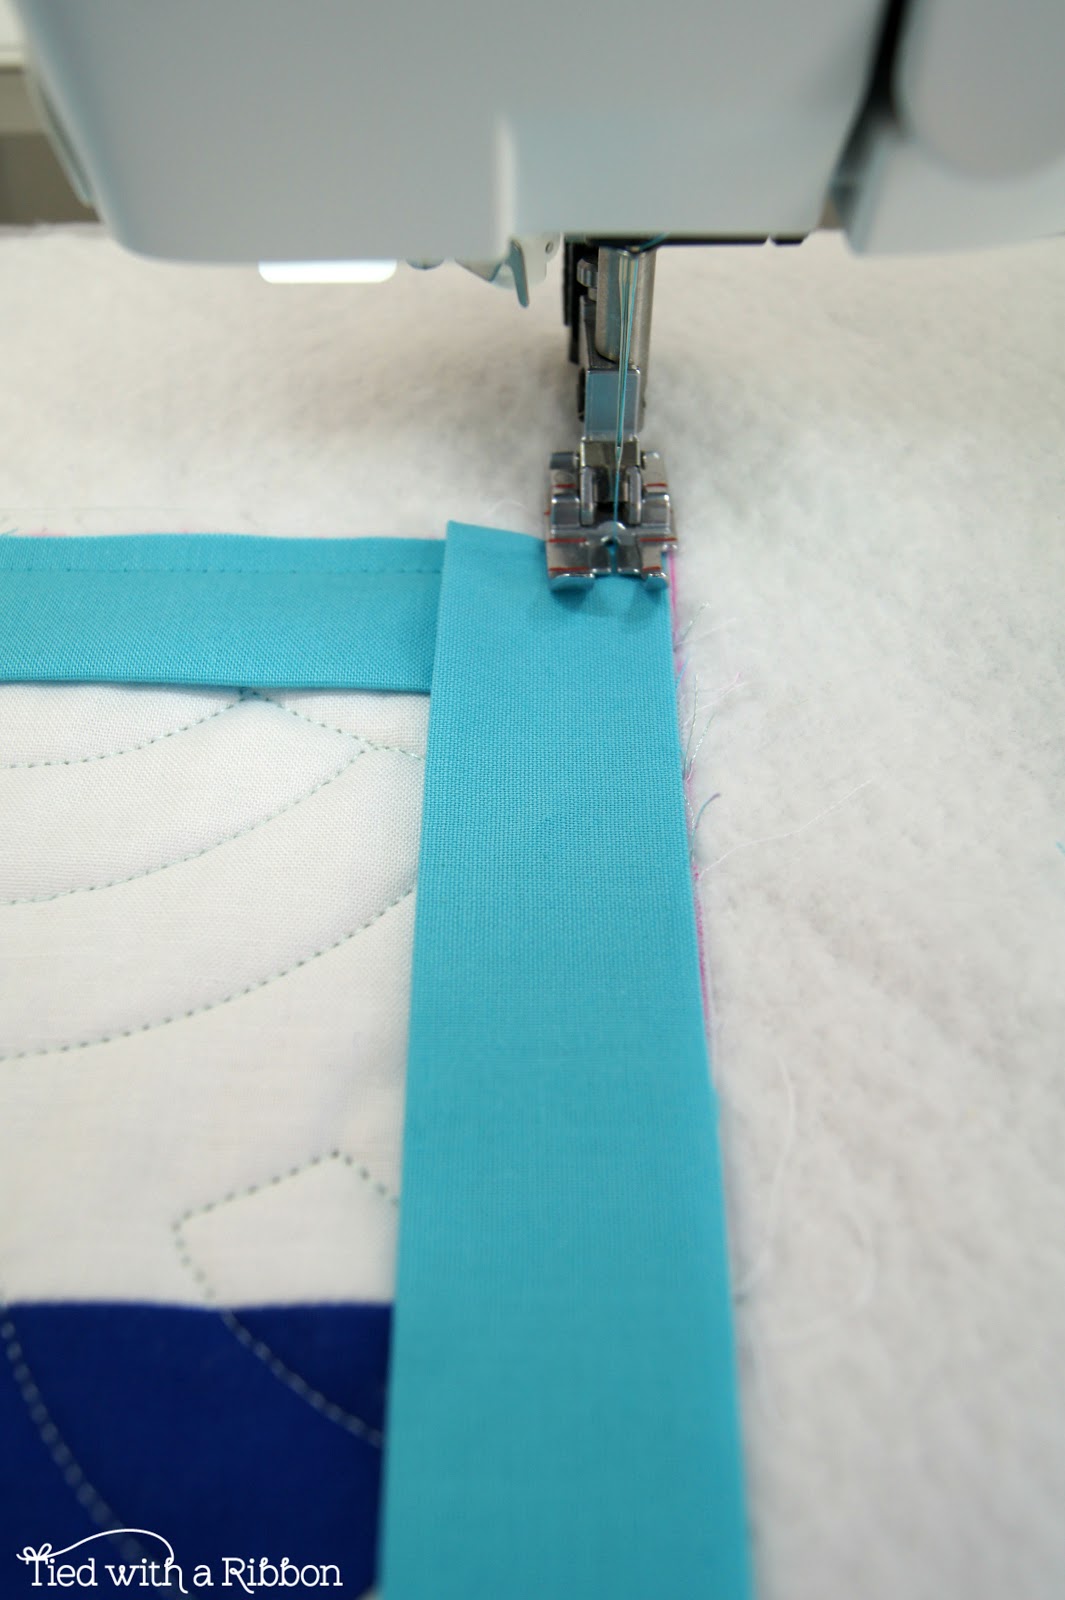
Step 7 - Continue to sew your binding all the way around your Quilt. Once you have sewn it all the way around you can then trim the excess batting and binding. The reason I do not trim this before binding is so that you can leave enough to fill to the centre binding line, before being folded over and sewn to the back seam line of your quilt.
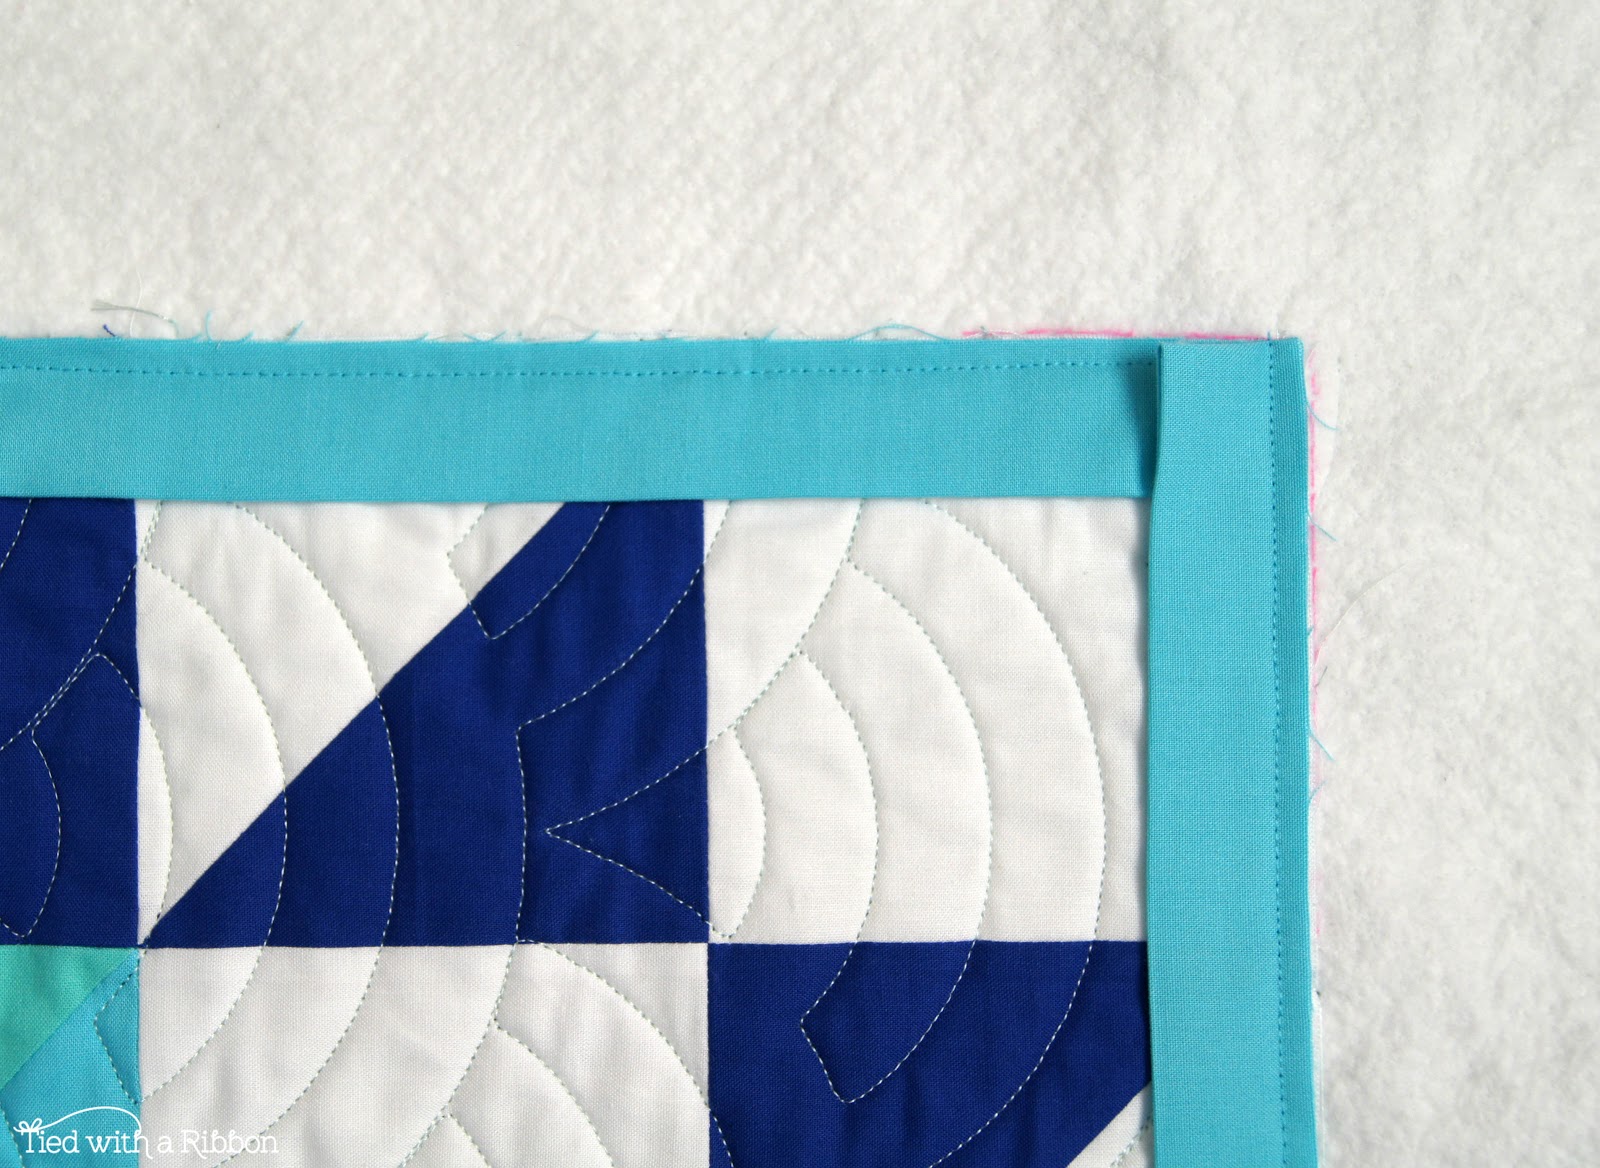
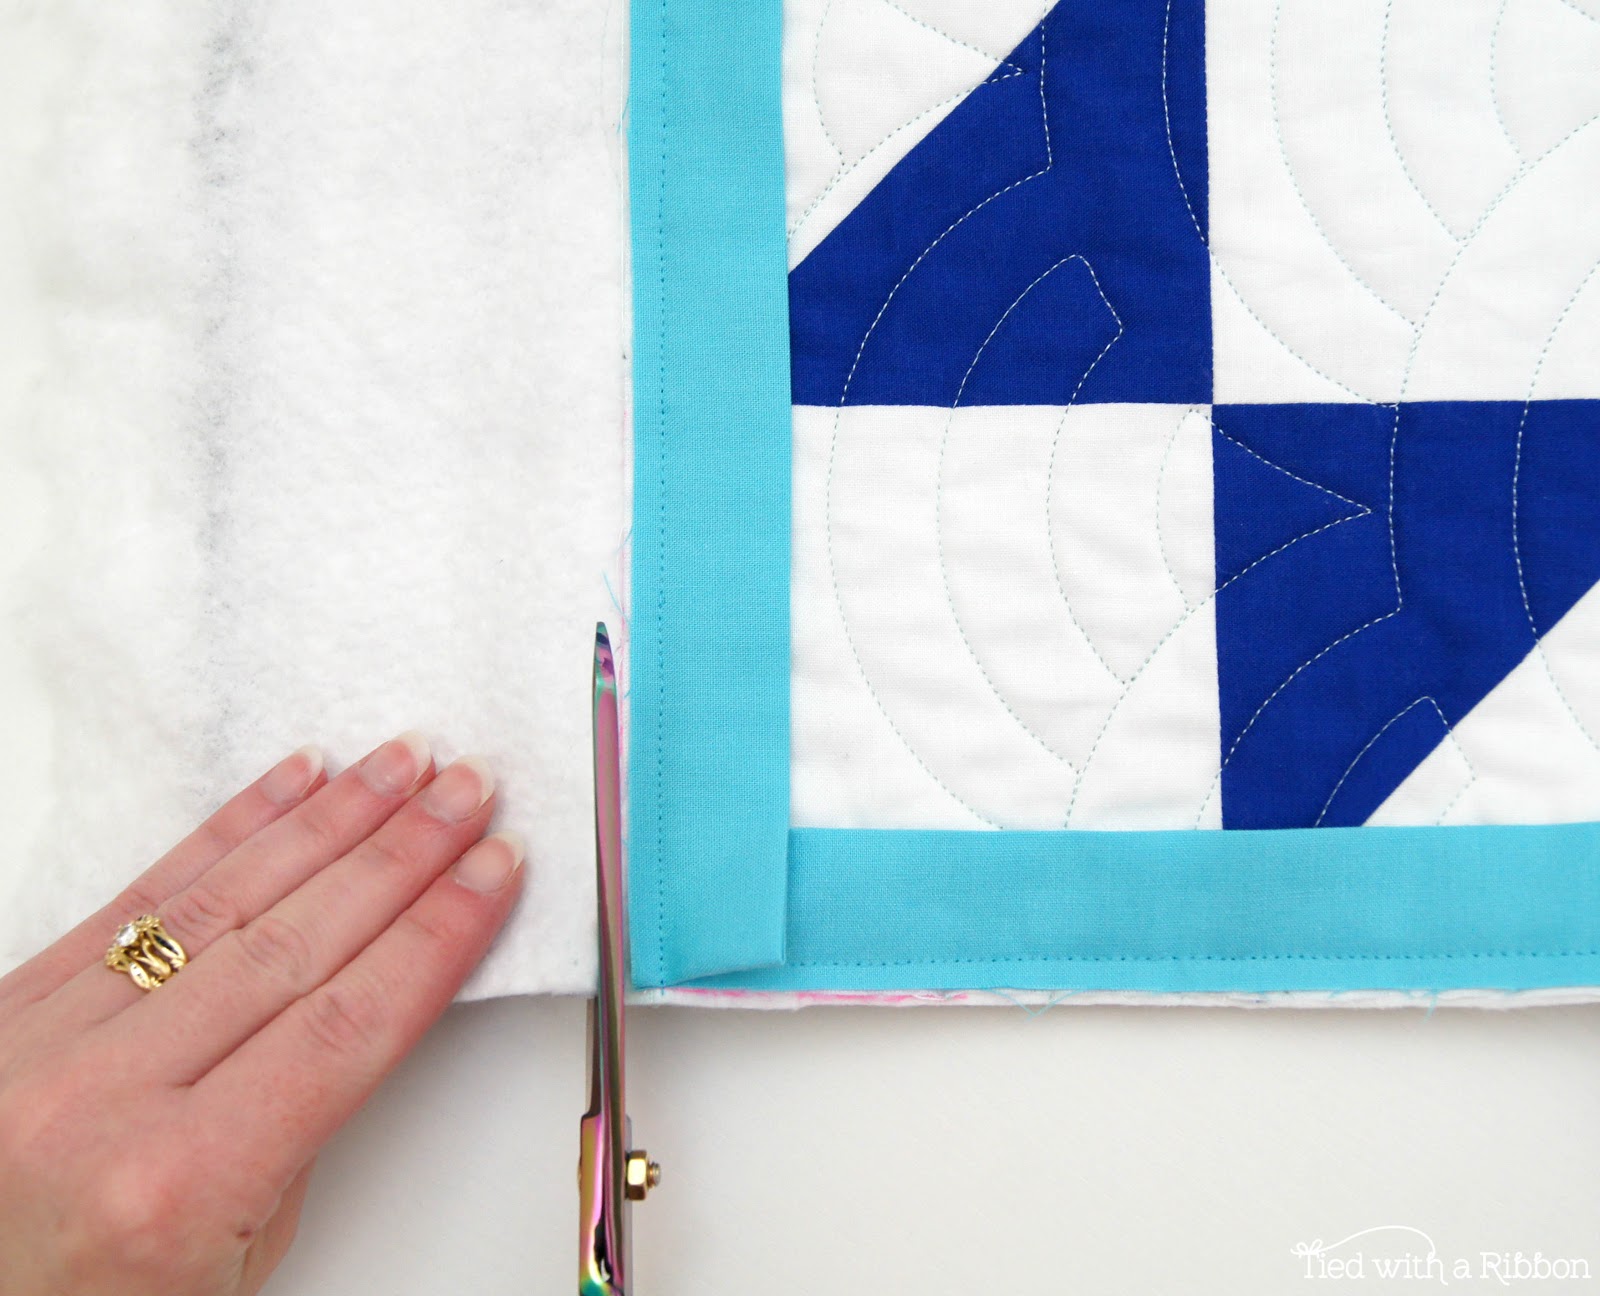
I hope you find that Helpful - leave a comment below. I'd love to know what tips and tricks of quilting you would love to find out about.
PS - Thanks to Carol Brady of The Quilting Cottage for your awesome Long Arm Machine Quilting of this quilt.
Fabrics - RJR Fabrics Cotton Supreme Solids
Thread - Aurifil #5005 (top) and #2615 (backing)
Machine - Pfaff Performance 5.0
Happy quilting
Jemima x
