Two Hearts Quilt Along - Week 1
Welcome to week 1 of the Two Hearts Quilt Along. I am so excited you will be joining in.
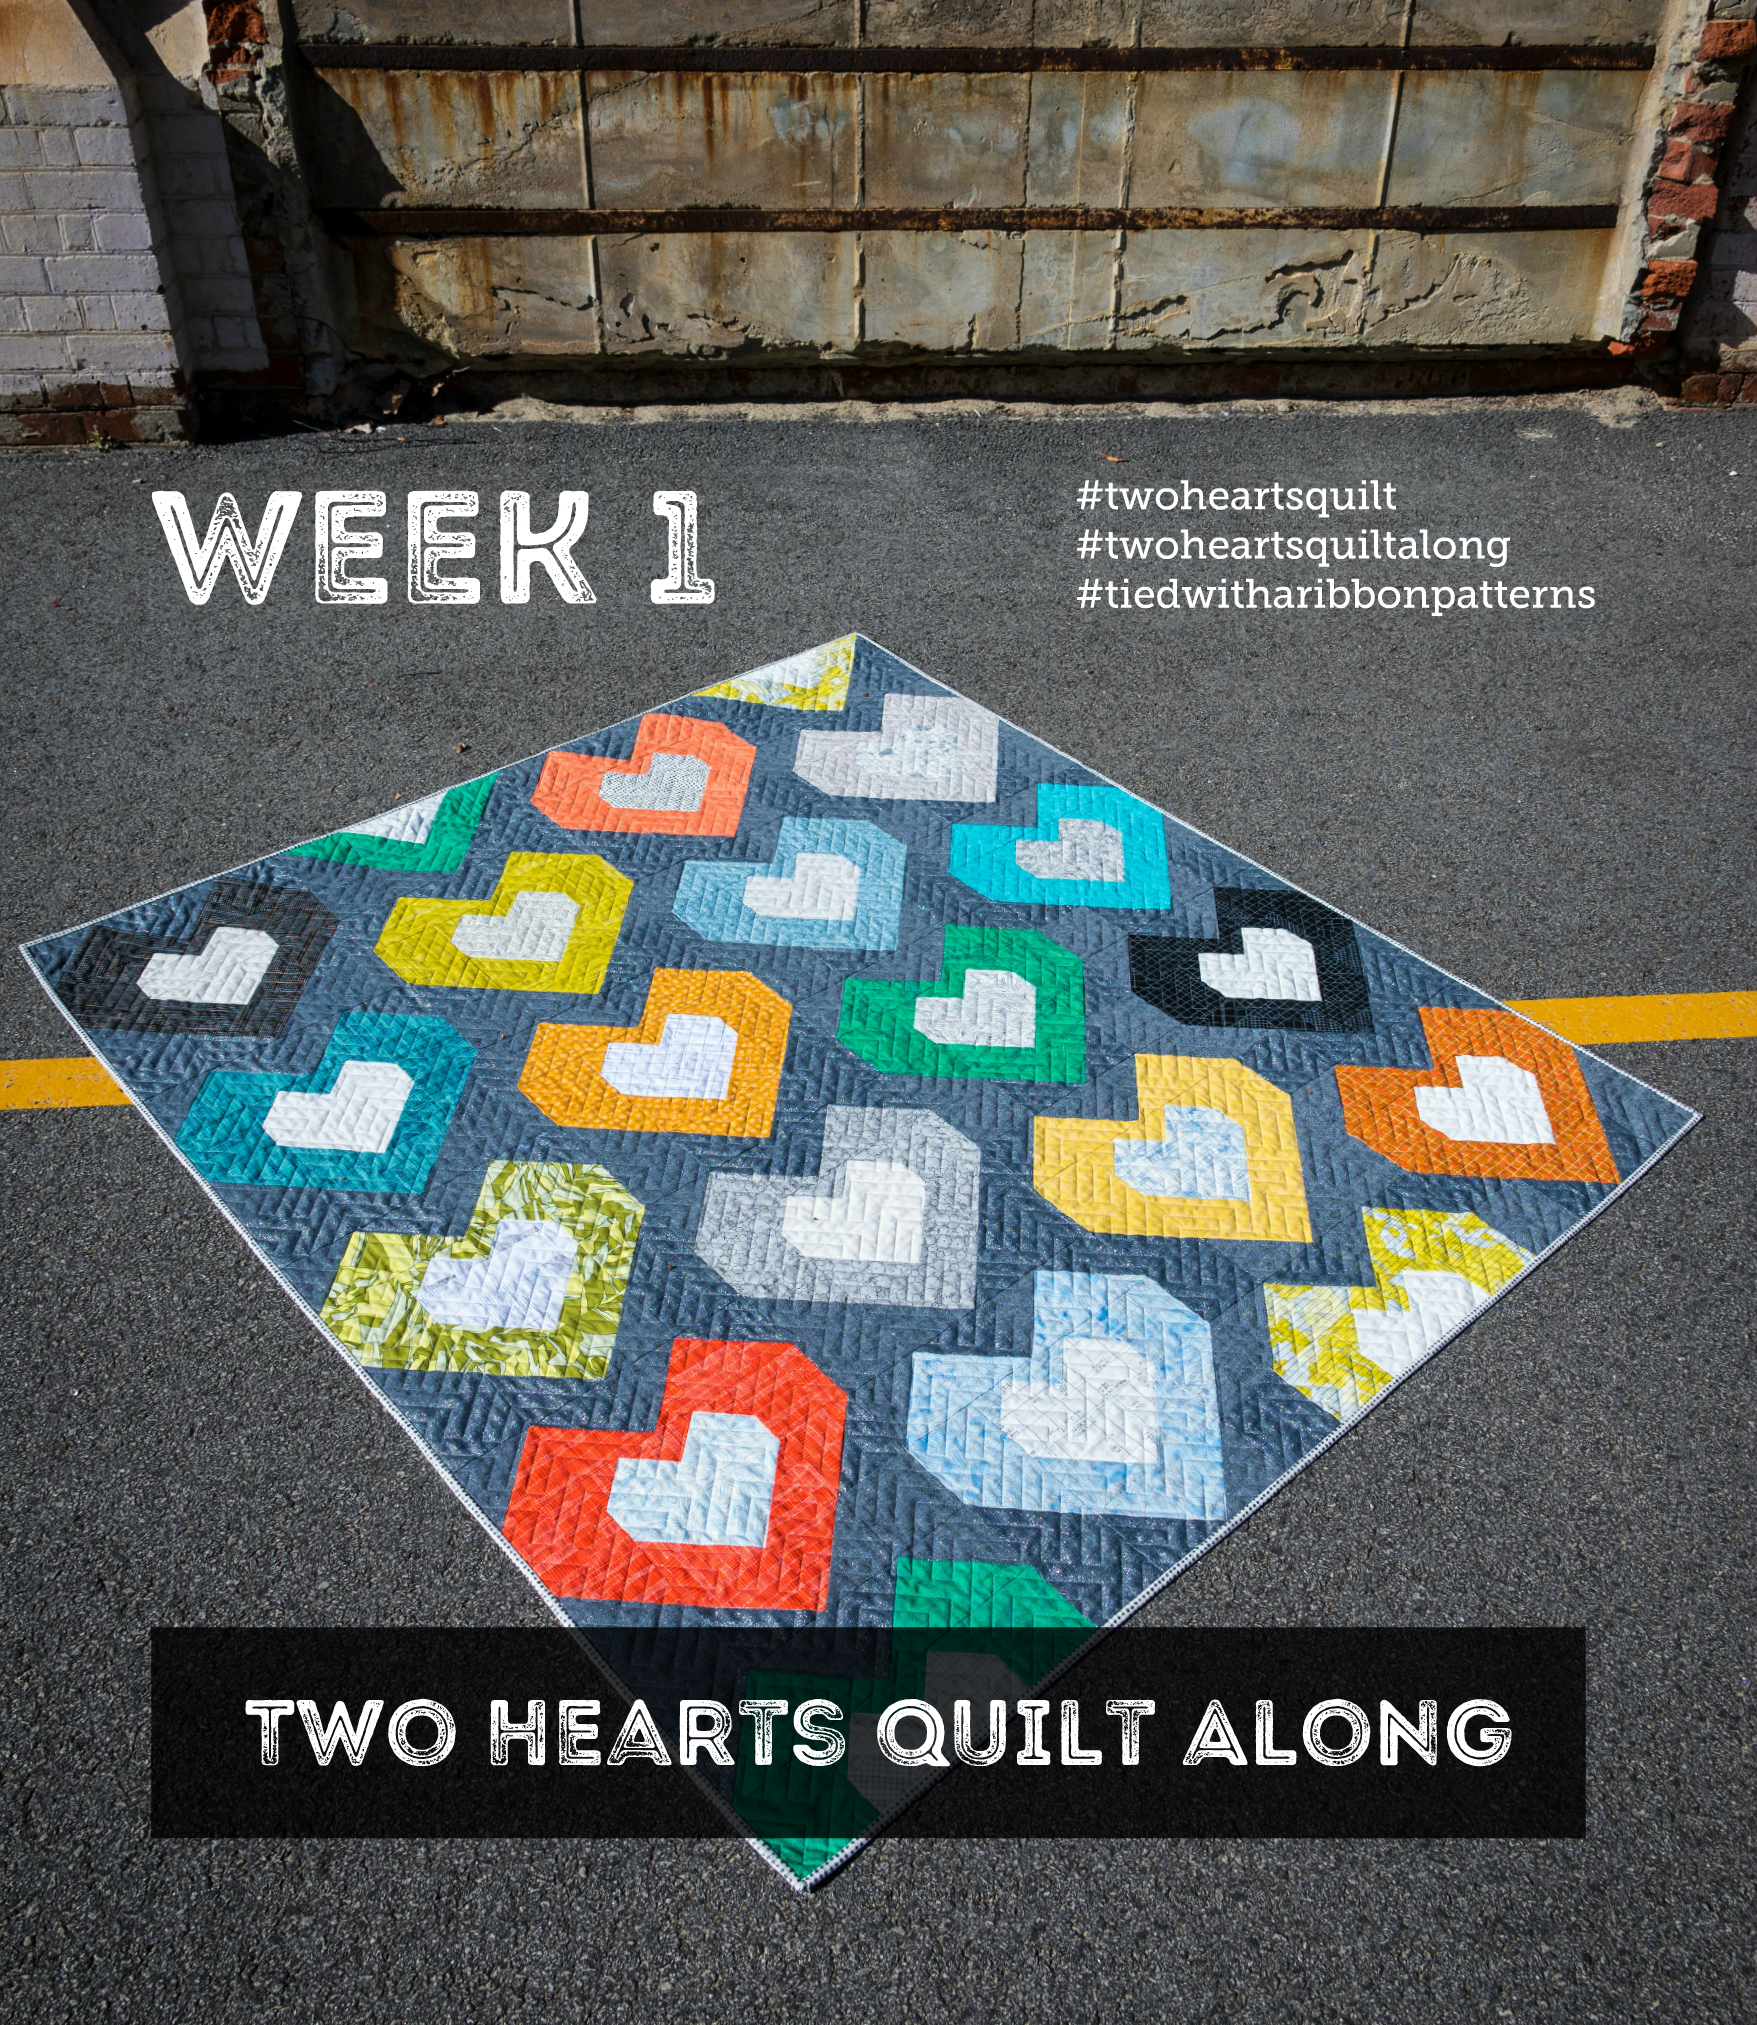
Welcome to Week 1 of the Two Hearts Quilt Along. Designed to be fun, casual and relaxed so that you can work through making your very own Two Hearts quilt over the coming 4 weeks - I am looking forward to having you join in. Everything you need to get you started is here along with the Schedule for the coming 4 weeks.
Get the Two Hearts Quilt pattern here
This week is all about choosing and deciding which fabric you will use to make your Two Hearts Quilt as well as getting it cut up. Make sure to check out the #twoheartsquilt hashtag for inspiration.
Week 1 - Selecting your Fabric
This weeks task is all about selecting and choosing the fabric you would like to make your Quilt from. Post a pic to Instagram, using the above hash tags of your fabric pull or quilt planning to show us what you will be making your Two Hearts Quilt from and to be in the running for this weeks prizes.
This is where the sky is the limit - whether you choose Solids or Prints this quilt works. You can grab fabrics from your stash or use a collection.
Prints
For this quilt - multi directional prints work best and are easiest. Geometrics work well as well as smaller scale prints.
Solids
Solids work so well for this Quilt and the choices of different Fabric Company Solids is huge. One way to do this is head over to Pinterest and search Colour Palettes - this gives you lots of boards with a selection of colours already that co-ordinate and work well together. From here you can pick and choose solids for any colour palette you like.
Scrappy
This design also works perfectly to pull fabrics from your stash if you want to go with a scrappy vibe.
Cutting your Fabric
Now that you have chosen your fabrics, this week is also all about cutting into them. As the pattern calls for Fat Quarters from your print/coloured fabrics make sure to use the Fabric Cutting Layout guide included in the pattern to avoid wastage or not having the required number of pieces.
HOT TIP - With your background fabric, I like to roll the yardage onto a spare empty bolt. You can ask you ask your Local Quilt store for a spare empty cardboard bolt that is used to store fabric on. Rolling your yardage onto a bolt makes for easy cutting of the yardage which you can roll off and cut from the bolt.
Two Hearts Quilt Along - Week 2
Week 2 is here of the Two Hearts Quilt Along and it has been so inspiring to see all the Fabric Pulls and lots blocks all ready in anticipation of being made into a quilt.
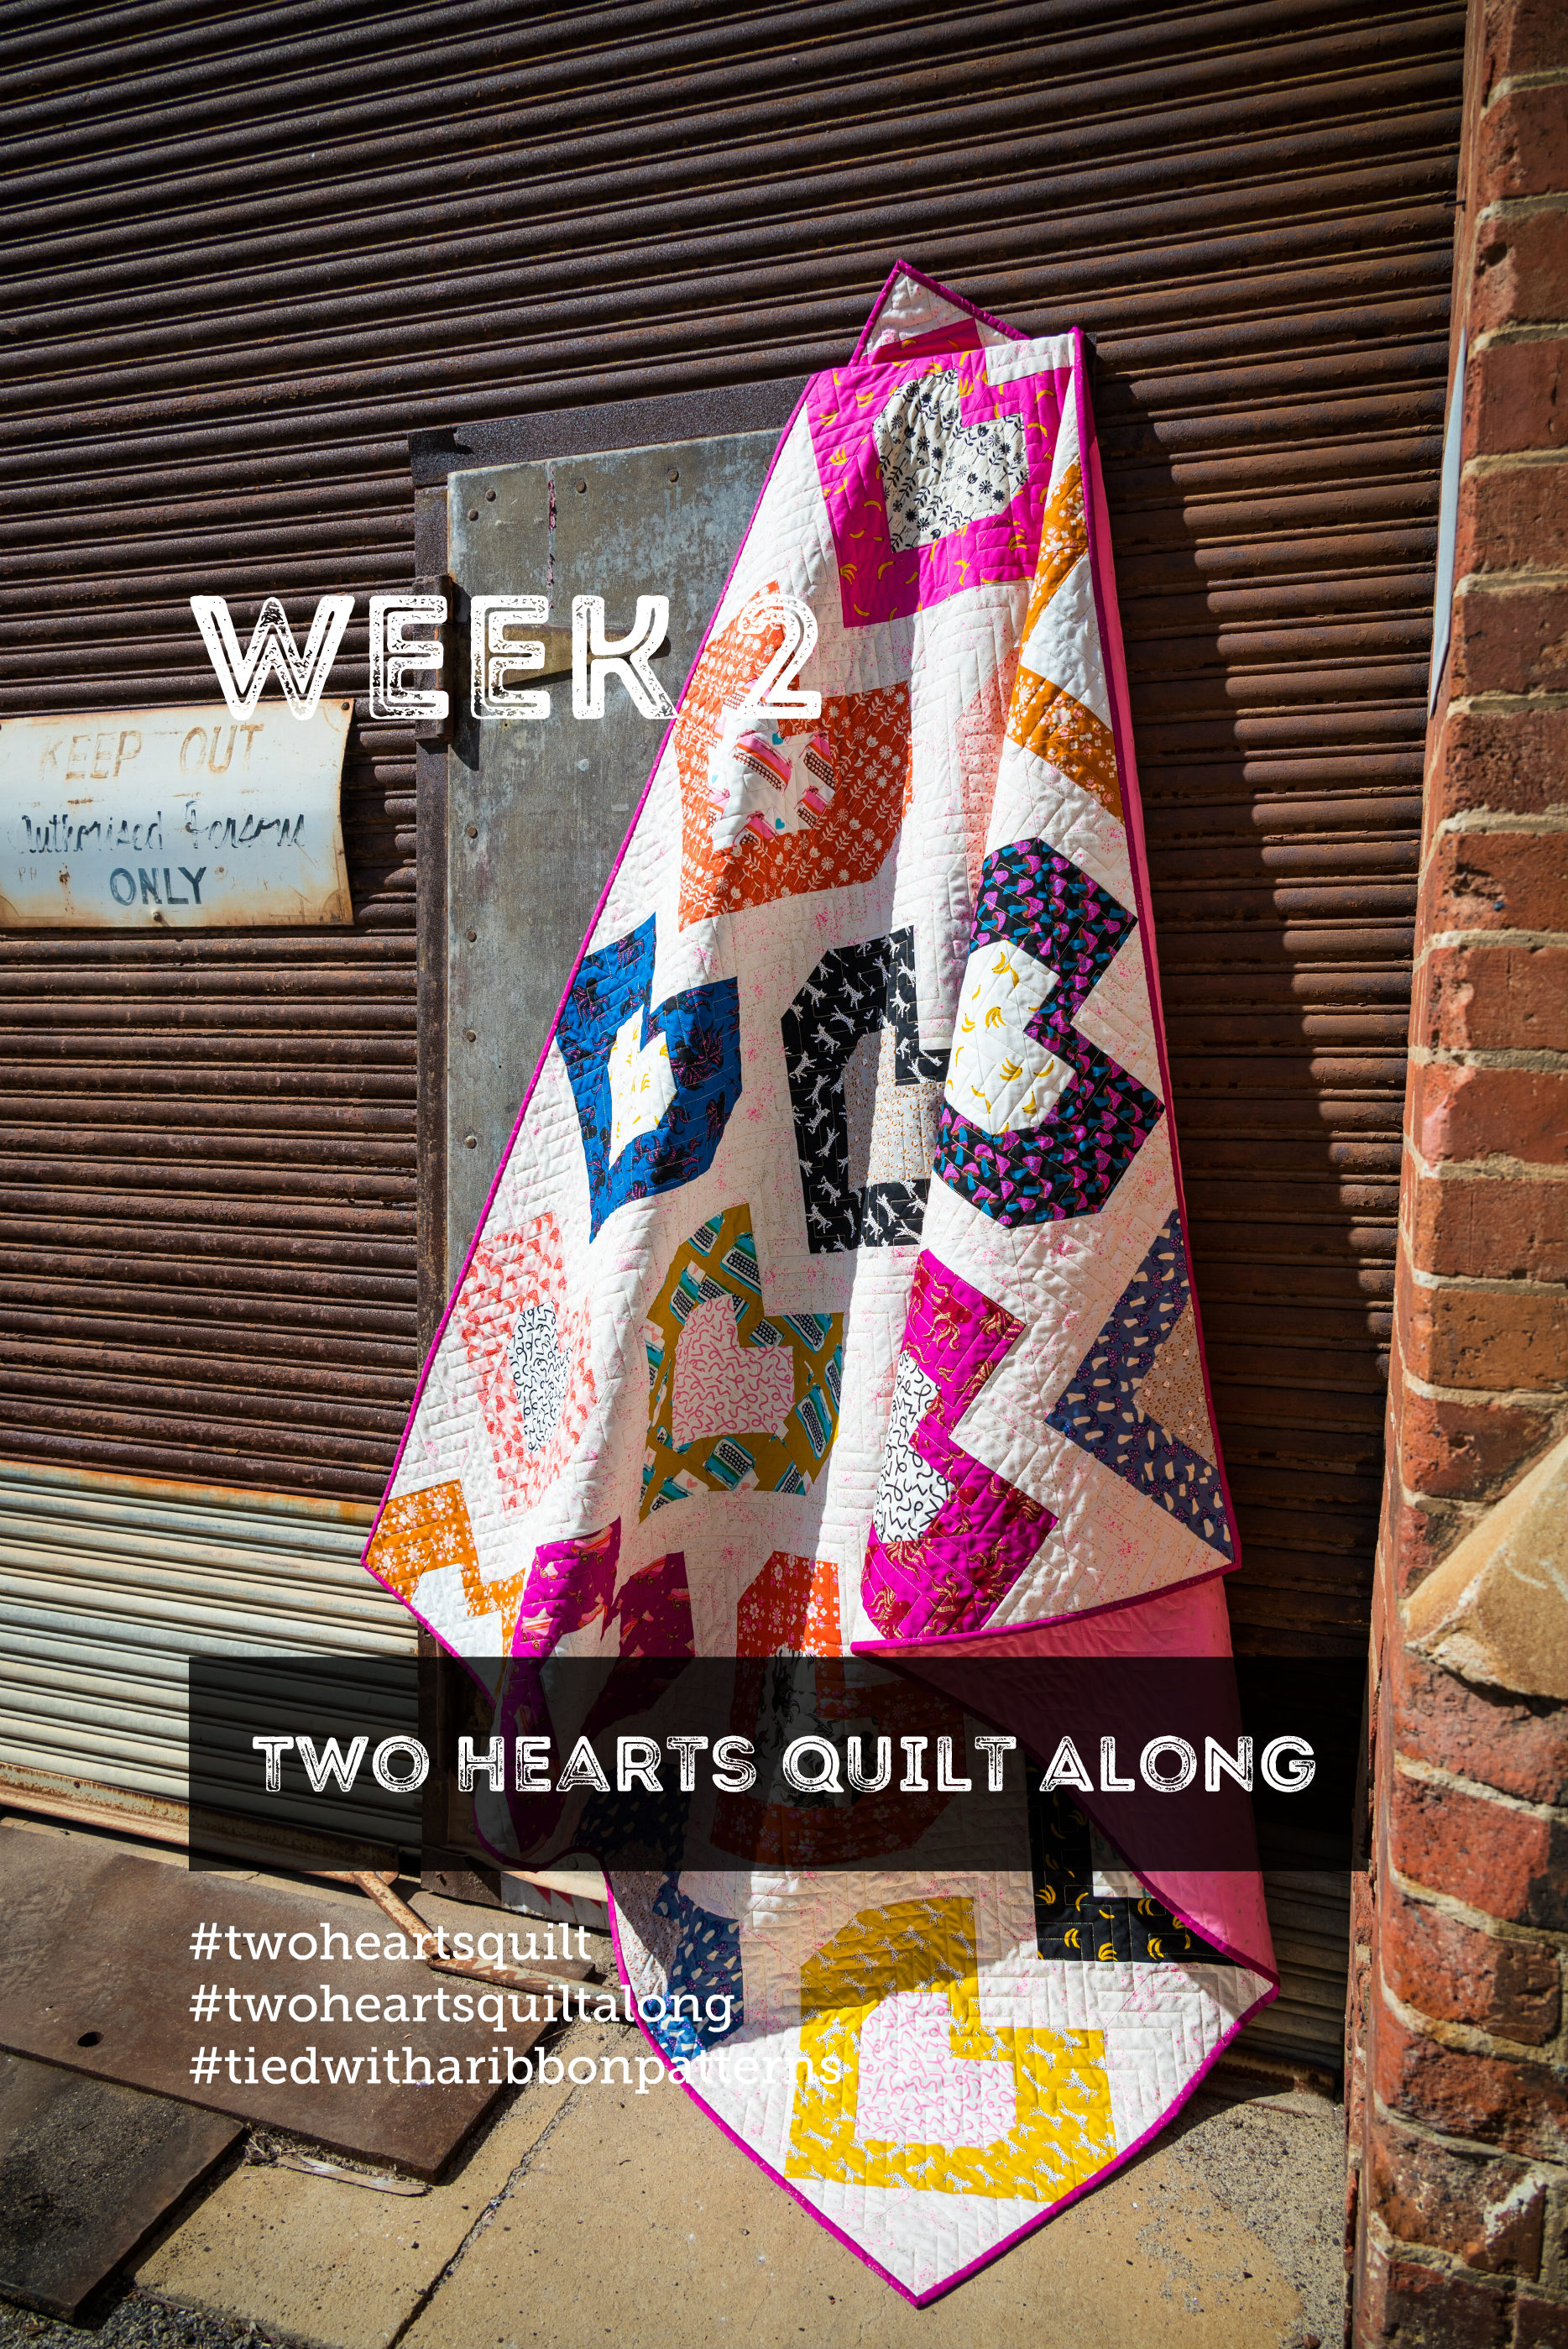
What an amazing start we have gotten off to with the Two Hearts Quilt Along - it is so exciting to see so many fabric pulls and cut out quilts block pieces showing up already. I am seriously in love with lots of these that they make me want to make another one - or ten! Have you checked out the #twoheartsquiltalong and #twohearts hashtags?
Now that you have chosen and cut out your fabrics, this week you are going to be working on making blocks. If you are making a Baby size then you are making 2 blocks, 6 blocks for the Large Lap or 10 blocks for the Queen size quilt.
Helpful Trimming Tools
There are A LOT of sewing gadgets around. Some are just gimmicks, some are helpful and then there are the ones that are Game Changers.
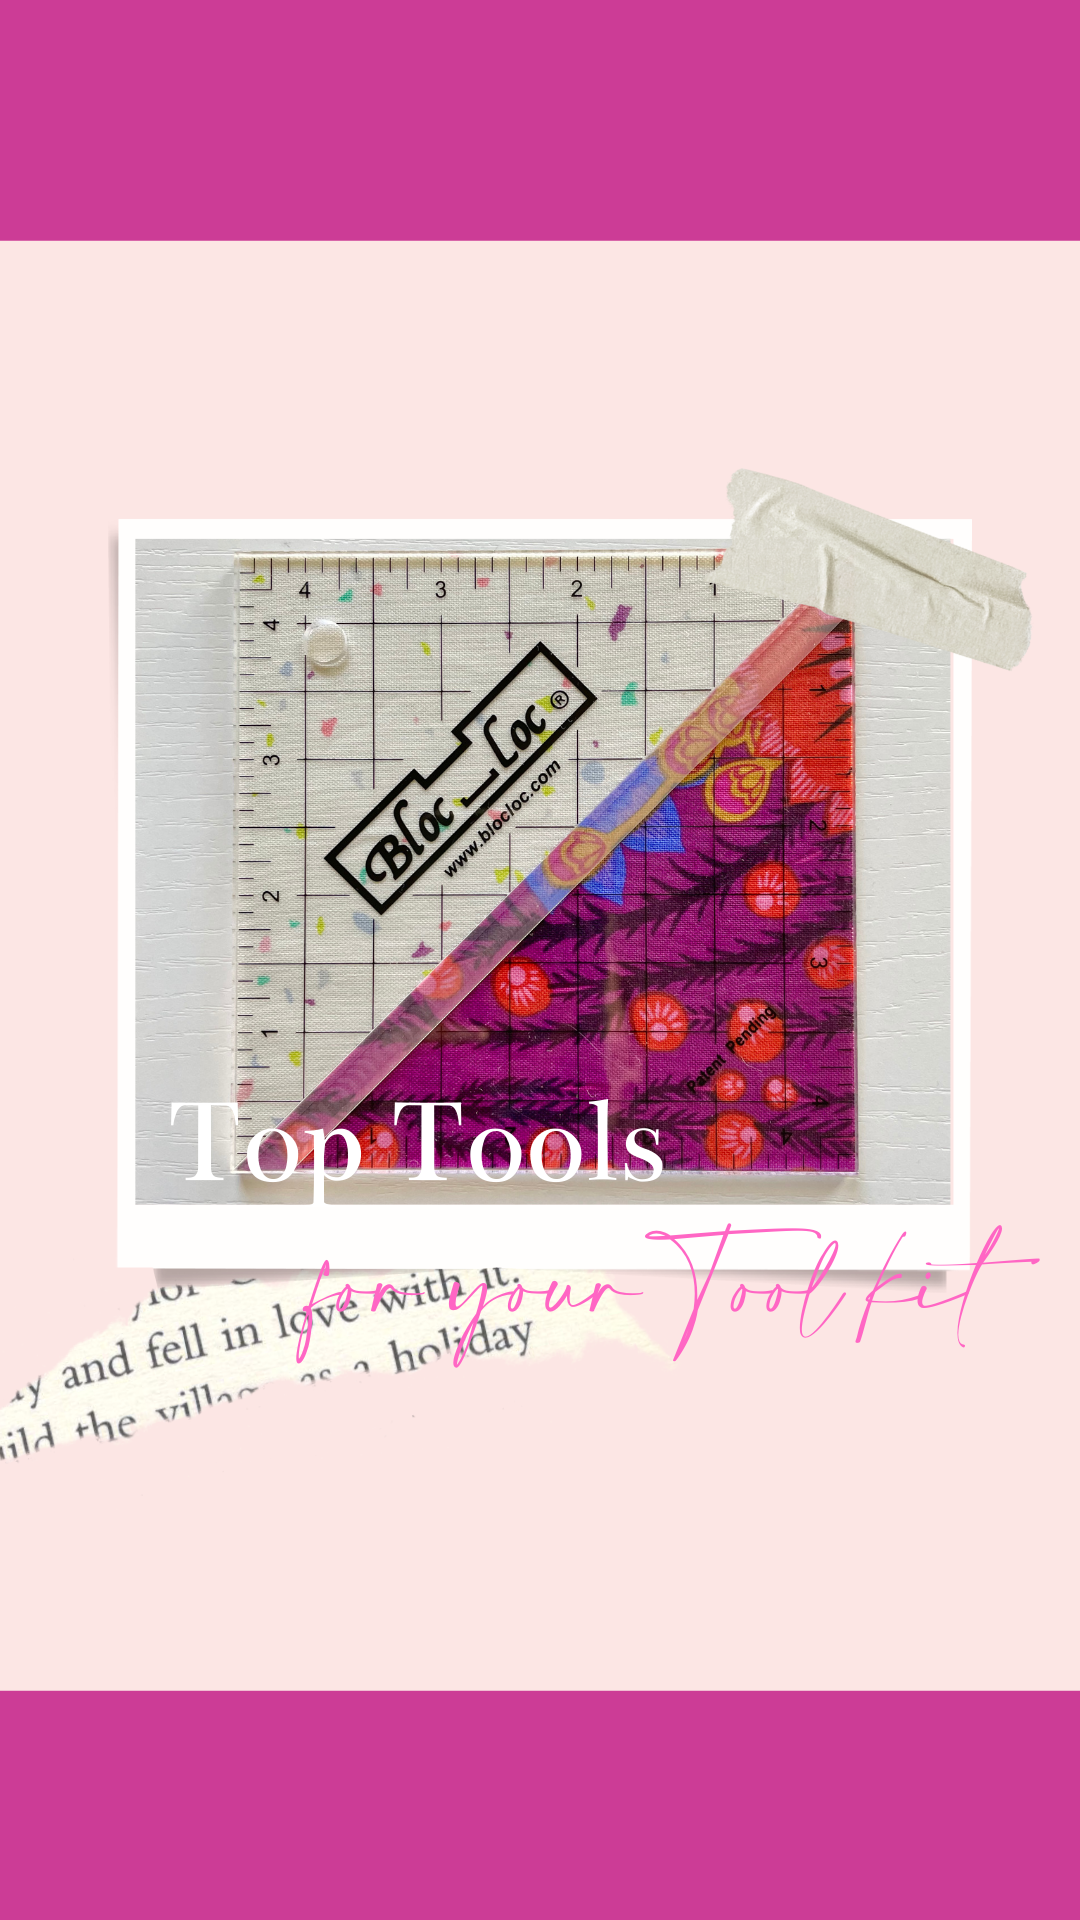
One of the biggest Game Changers I always recommend in your Quilting Tool Box is Bloc-loc Rulers. I am in no way affiliated with Bloc-loc – just my personal/professional opinions that these are rulers that ARE worth investing in.
While you do not need these to make this quilt at all – I highly recommend that you grab yourself some and you will never look back.
For the Two Hearts Quilt I used the following rulers:
Half Square Triangle Ruler – 4 1/2in x 4 1/2in
Flying Geese Ruler 2in x 4in and 4in x 8in
I will be sharing a Reel this week on my Instagram grid of these Rulers so watch out for that.
You can also see this post here on MY TOP TOOLS.
Two Hearts Quilt Along - Week 3
Here at the halfway mark and very excited to see that by the end of this week your Quilt Tops will be over halfway completed.
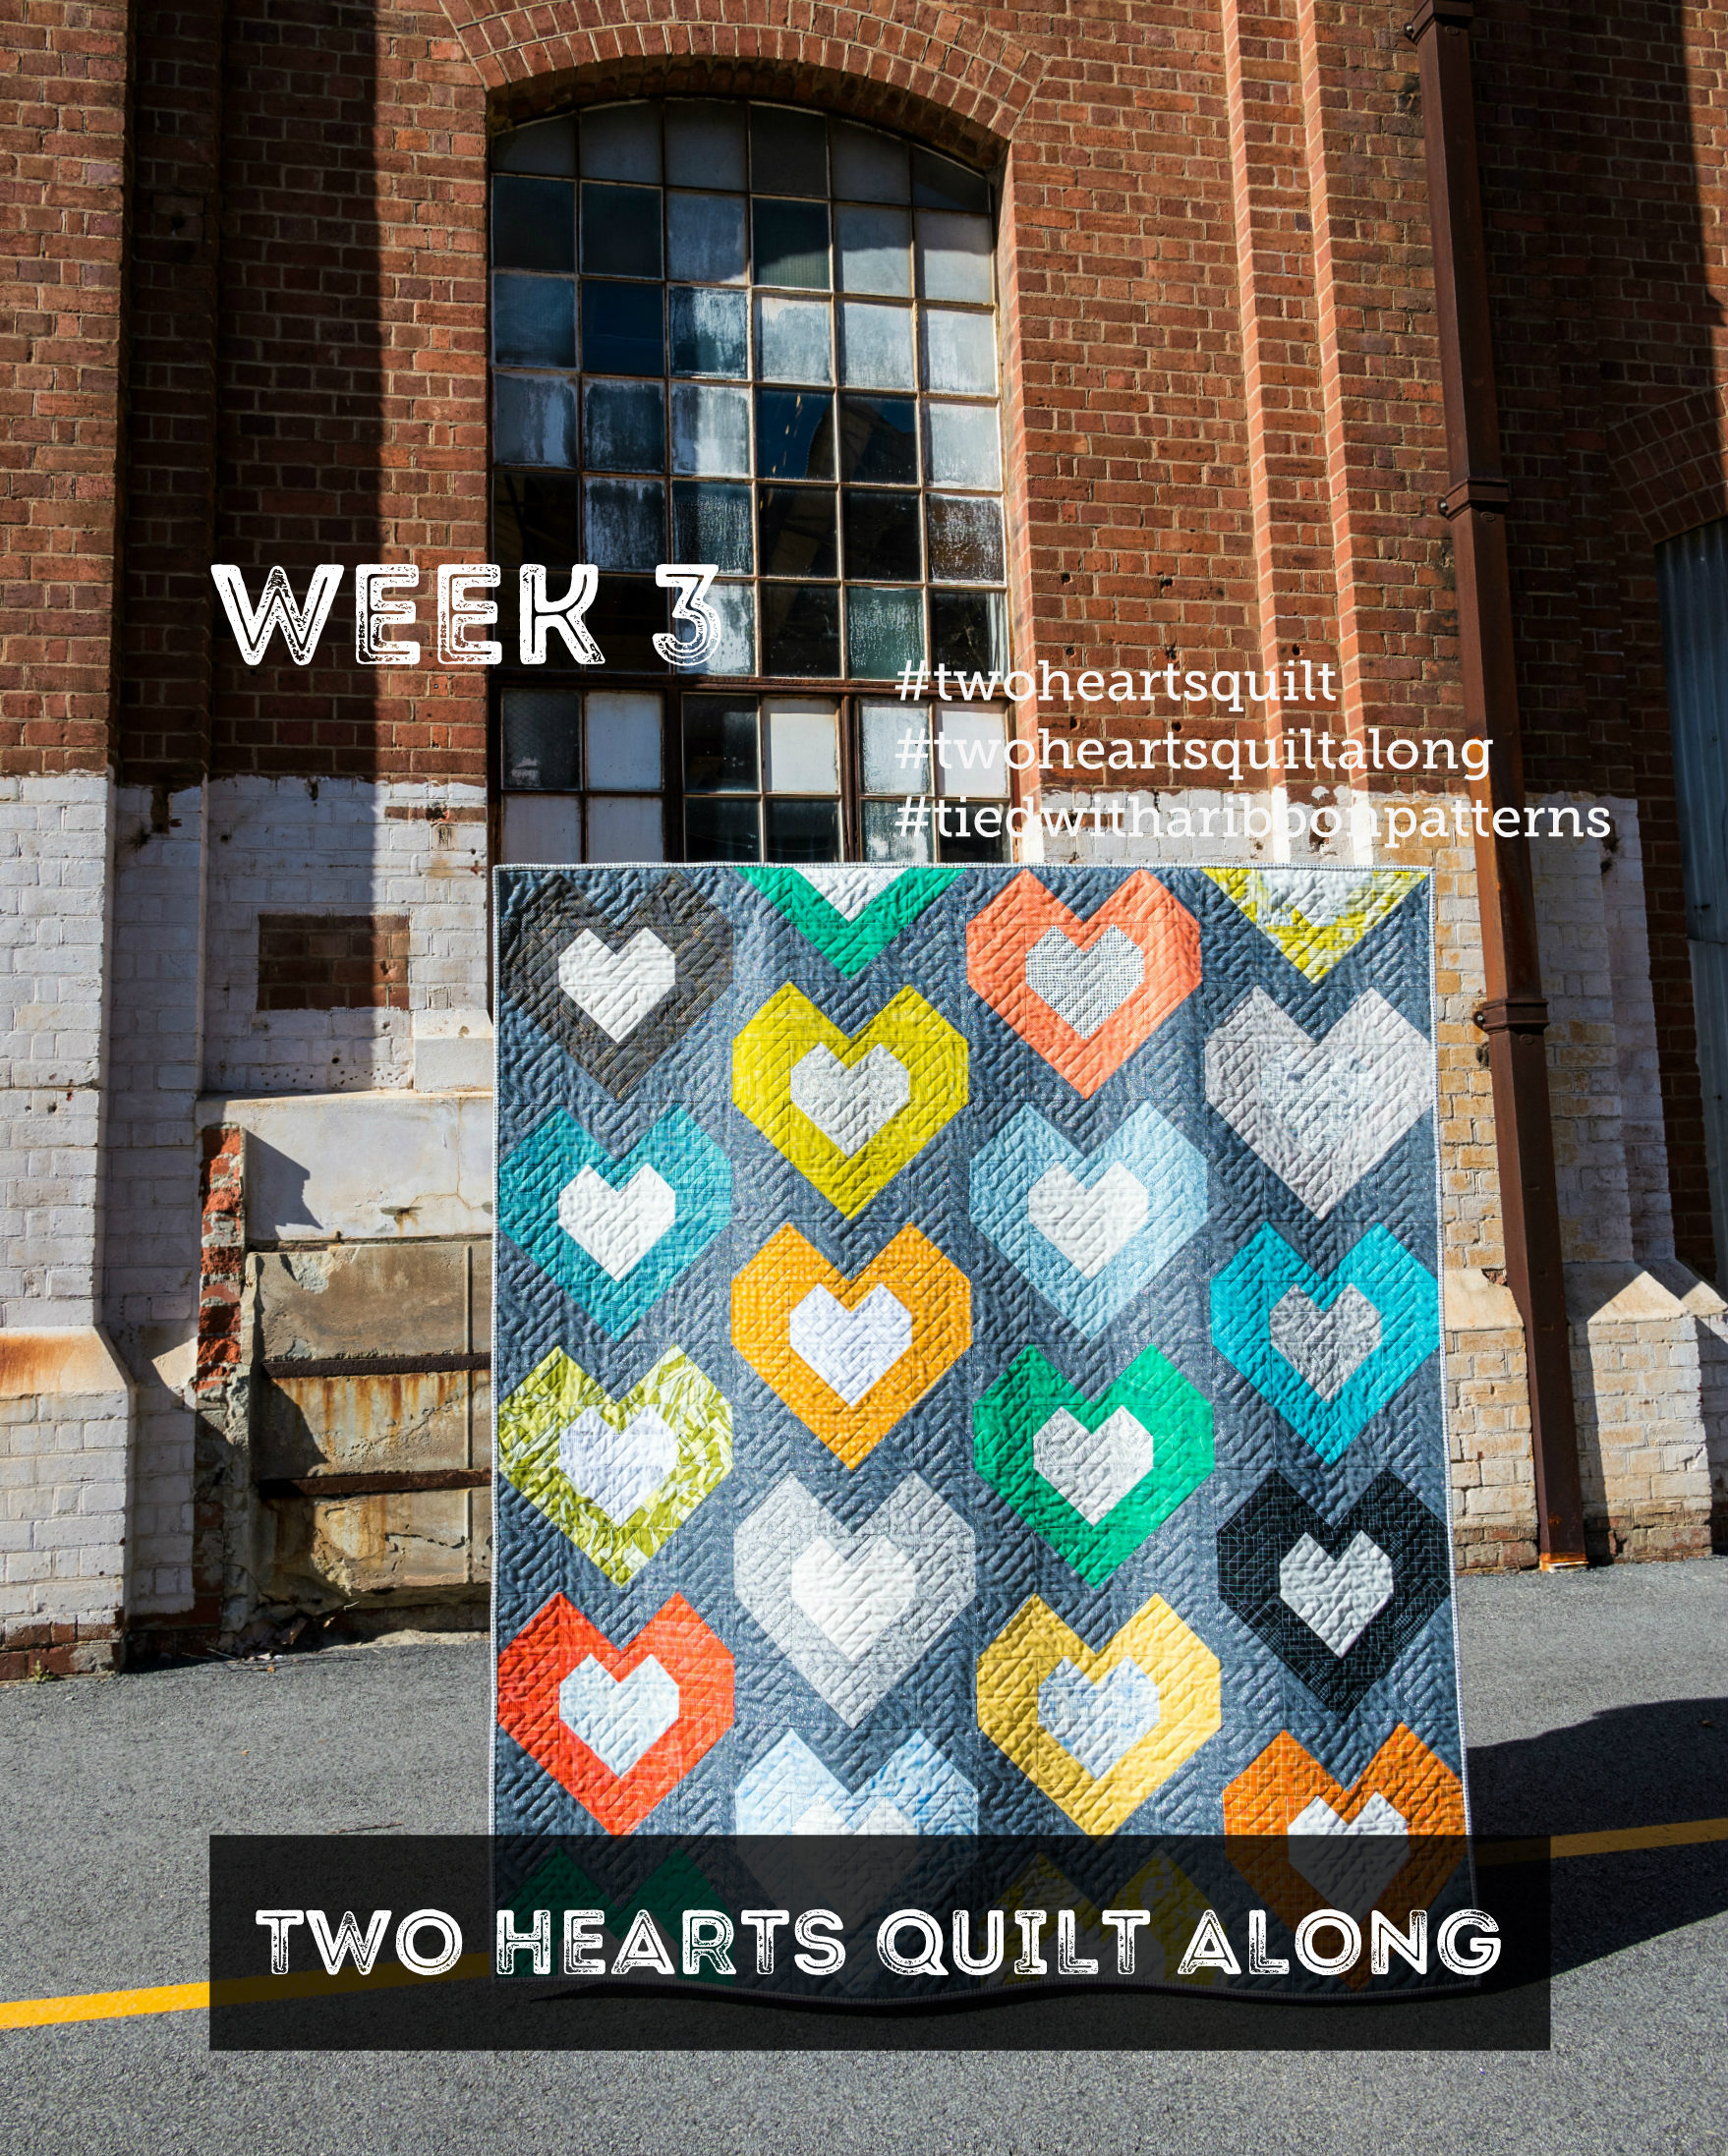
It's Week 3 of the Two Hearts Quilt Along - we are at the halfway mark and it is very exciting to see lots of Quilts starting to come together and all these beautiful fabric choices becoming gorgeous Two Hearts Quilt tops.
This week we are working on sewing up more blocks so that you have 4 (Baby), 12 (Large Lap), or 19 (Queen) finished in total.
Did you check out the Reel last week that highlighted my love for Block loc Rulers? You can check it out here if you missed it.
Happy Quilting
Jemima x
Two Hearts Quilt Along - Week 4
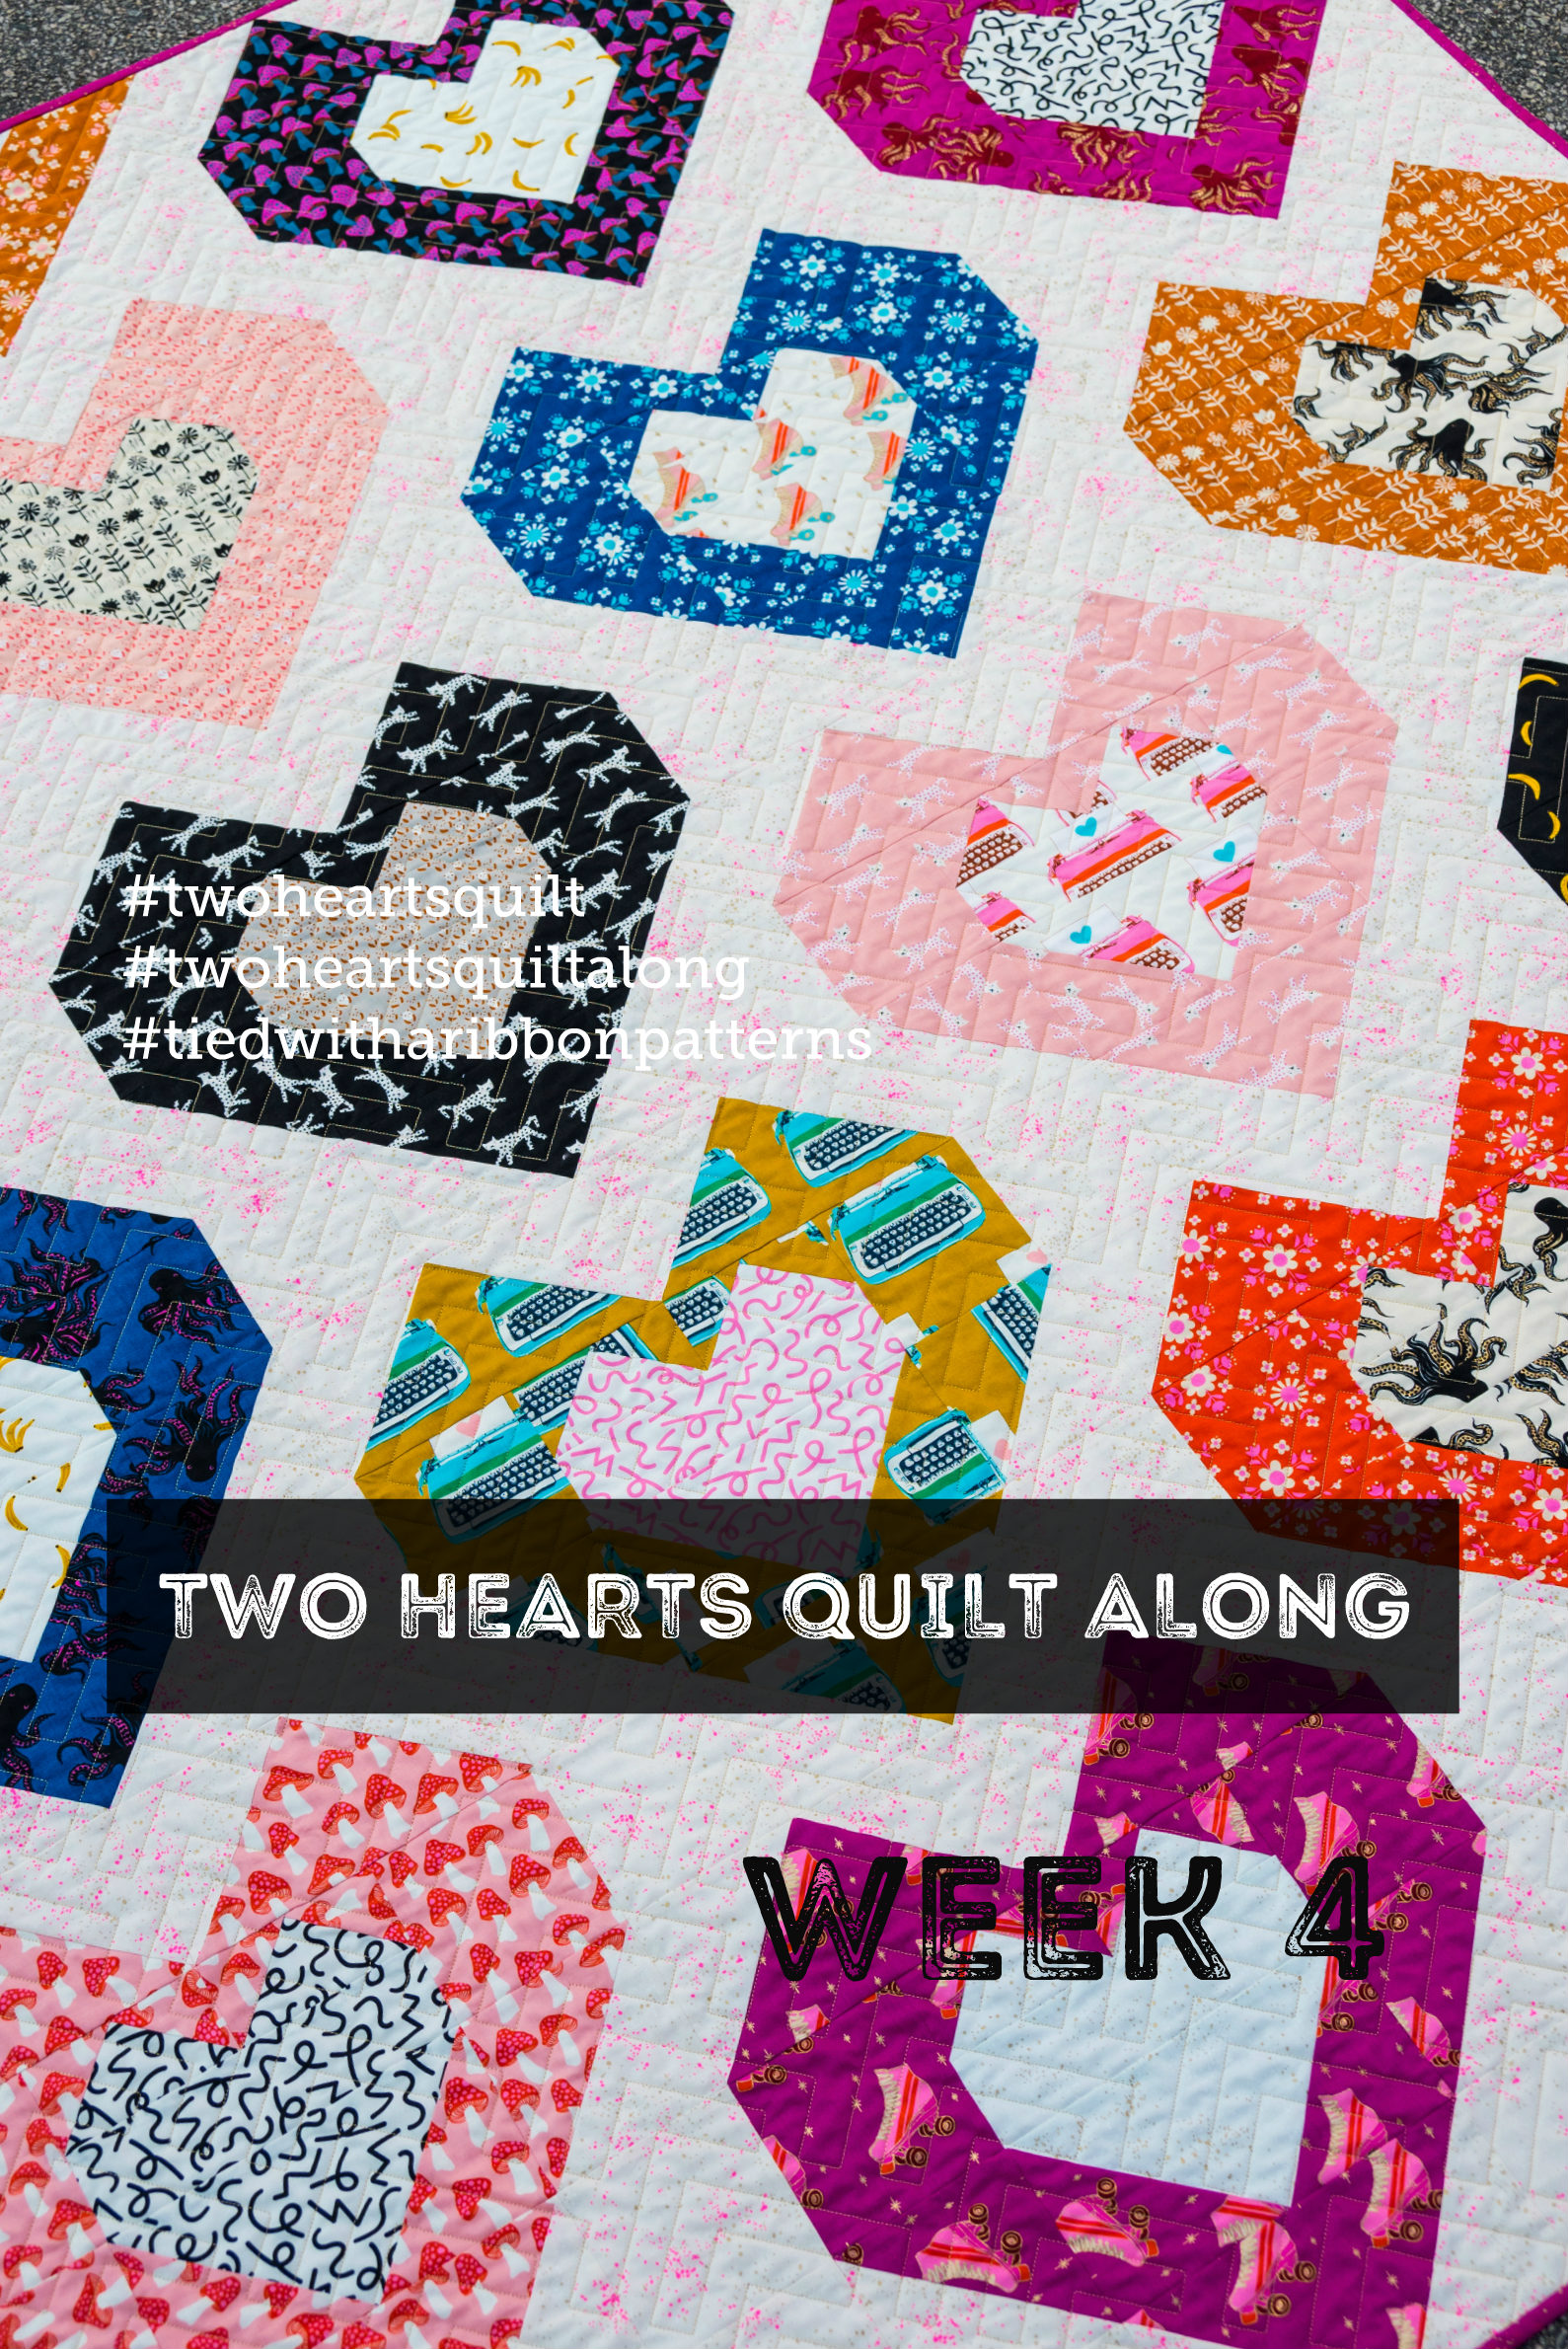
Well I can't believe we have come to the final week of the Two Hearts Quilt Along. I am beyond humbled by all those who have joined in and for all the love this pattern of mine has been shown. A massive thank you to you all for your support - it really does mean so much to me.
So this week is all about finishing your blocks as well as getting your Quilt Top ready for Quilting, and Binding and being able to then finish it up. I have put together some tips and links below which I hope will help you with the decisions for this next part of the process with how you will finish it.
QUILTING DECISIONS
When it comes to deciding on how to Quilt your Quilt - you have lots of options.
Quilt It Yourself - for those keen to quilt your own Quilt there are lots of ways you can tackle this. You can simply quilt tram lines either sides of all the seam lines for simple but effective quilting. You can get as adventurous as you like with Free Motion Quilting or even more detailed straight line quilting. Or how about Cross-Hatching over the entire quilt or even using a Large Zig Zag stitch without needing a lot of experience.
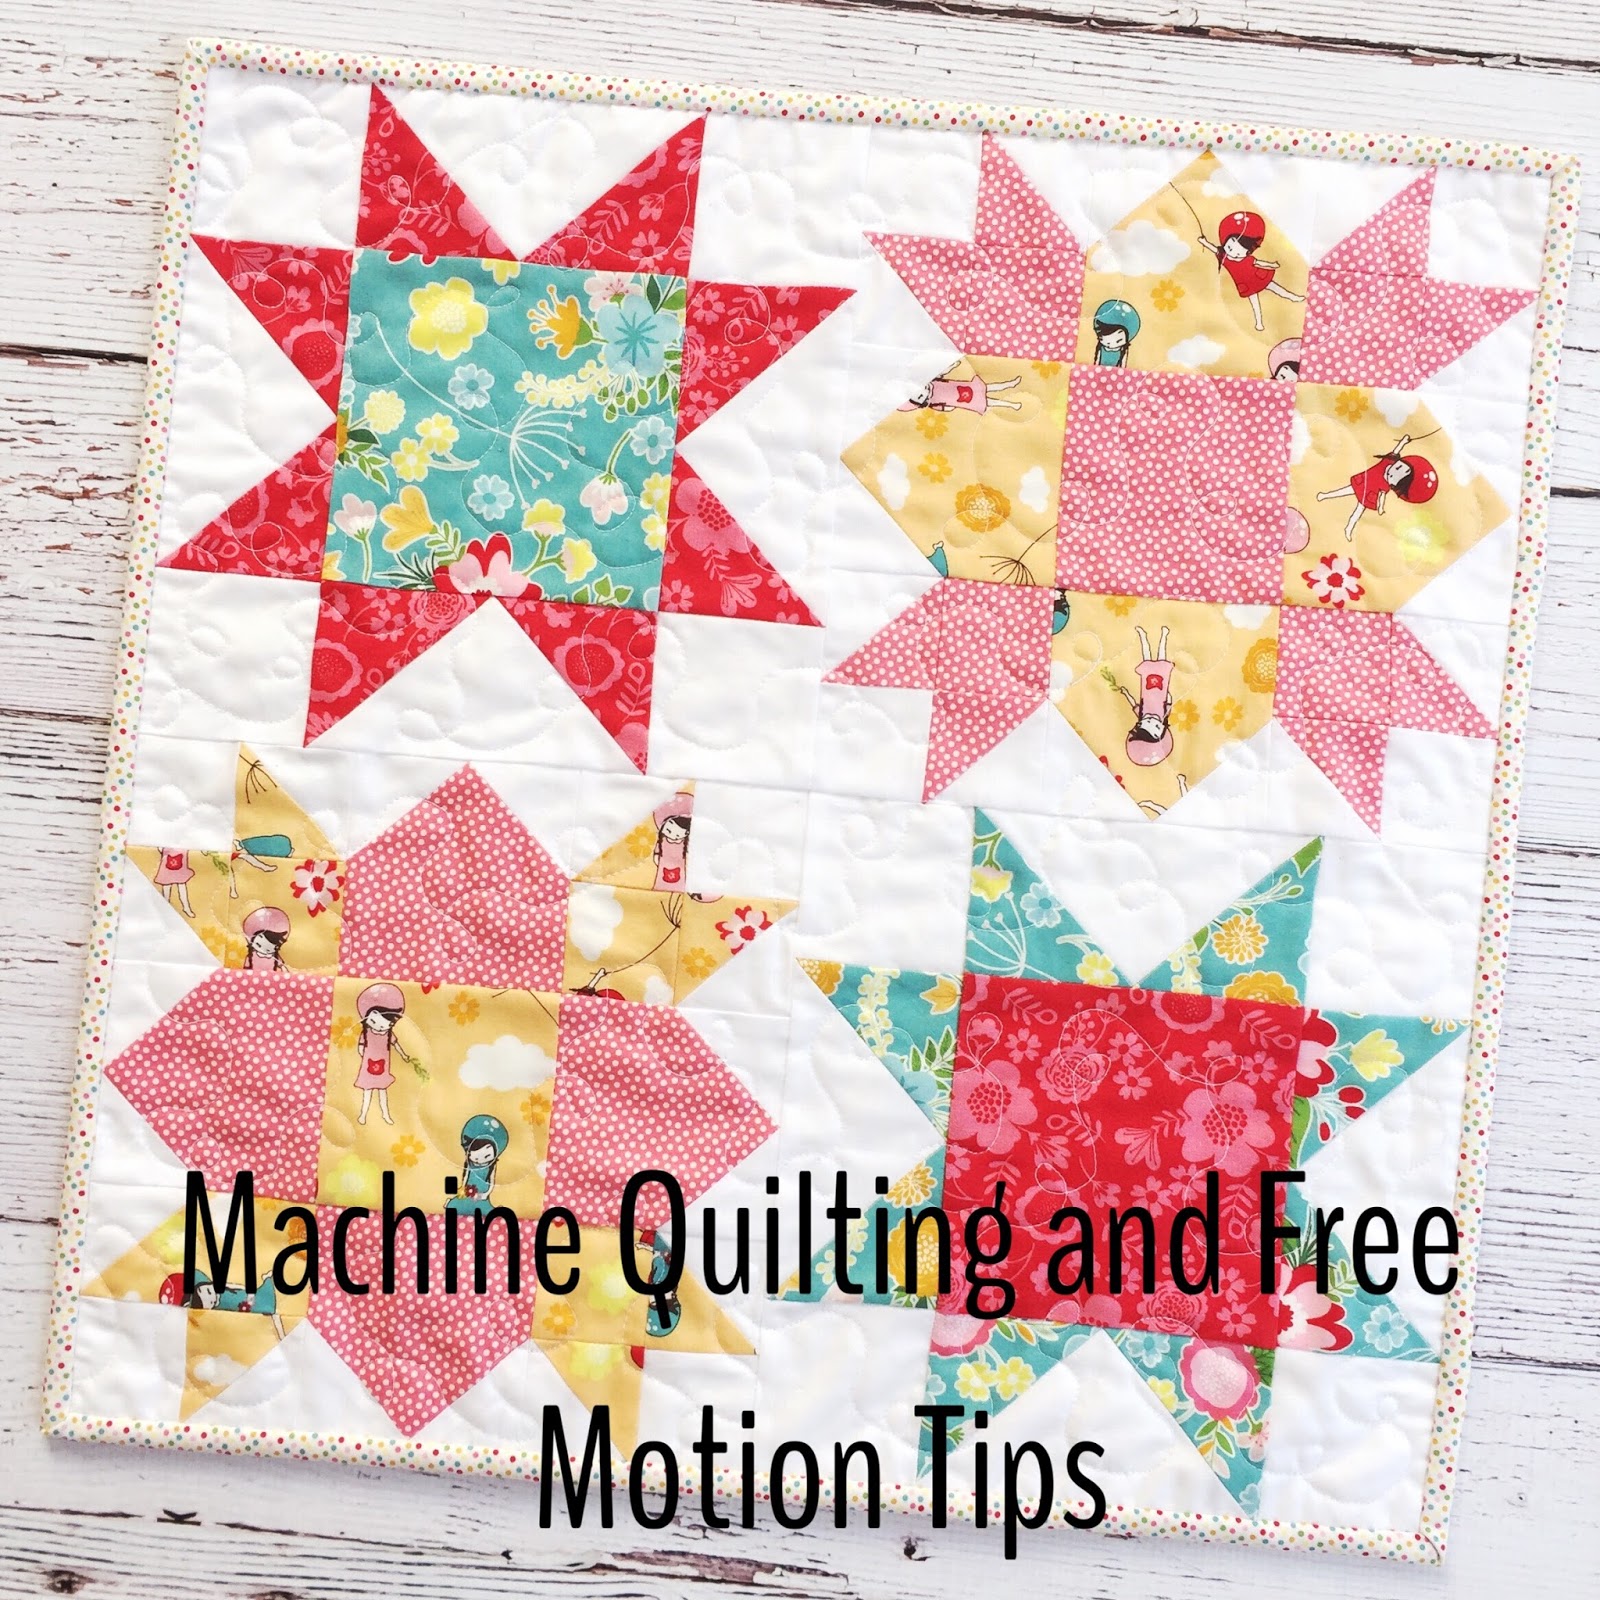
For those wanting to give Free-Motion Quilting a go or already are familiar with this Technique, check out this Blog Post I wrote all about Machine Quilting. I hope this gives you some helpful tips.
Send it to a Professional - you can send your quilt to a Long Arm quilter who can either do and Edge to Edge Design or Custom Quilt your finished Quilt.
Hand Quilt it - if you love the look of hand quilting or have ever wanted to give this a go, head over and check out all my best Hand Quilting Tips and Tools here. There is nothing more satisfying than the look of perfectly imperfect hand made stitches in a quilt.
BINDING YOUR QUILT
Once you have your Quilt all Quilted - now you can turn your attention to Binding your Quilt. There are so many Tutorials for how to bind you Quilt if you Google.
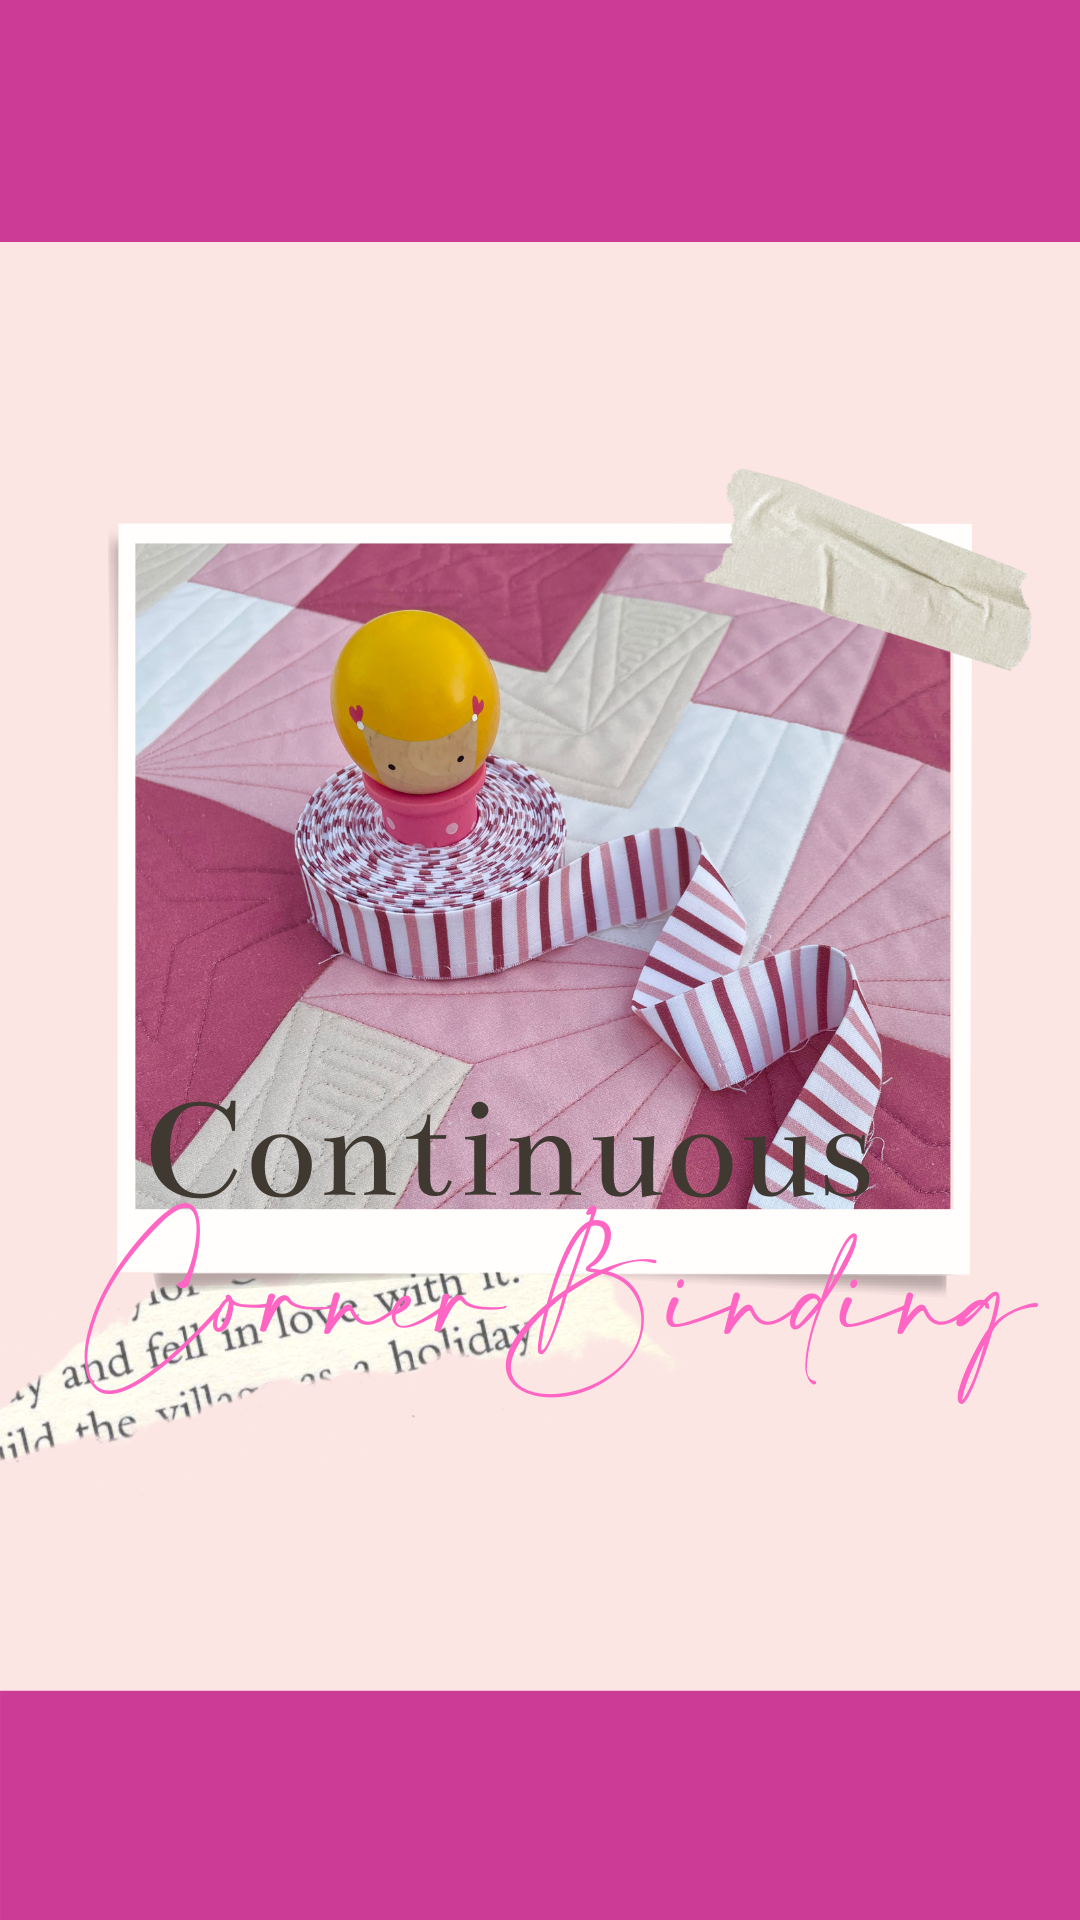
I have put together a Tutorial on how to work the Binding continuously around the corner when you sew it onto the top of your Quilt – it’s a small but very helpful and useful way to sew your Binding all on in one go. Check it out here
A massive thank you again to everyone who has bought my Pattern(s) and participated in the Two Hearts Quilt Along - I am so blown away by how many of you from all over the world have joined in and just in love with your fabric choices and how your quilts have come together.
Thank you , Thank you, Thank you
Jemima x x
This post may contain Affiliate links. I may earn a small commission at no cost to you.
